Intro to Custom Layers
in this lesson
CalTopo allows you to bring in additional sources of geographic data via custom layers. Not finding what you are looking for from the layers available on CalTopo? Well, create your own!
Depending on the type of account you have, CalTopo has a number of custom layer options that you can create. In this lesson we will cover the basics for how to create, edit and save custom layers. The next two lessons will delve into the specifics for creating each type of custom layer.
Some custom layers require a Pro, Desktop or Team Account.
Topics on this Page:
Creating a Custom Layer
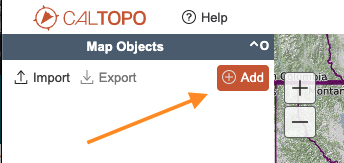
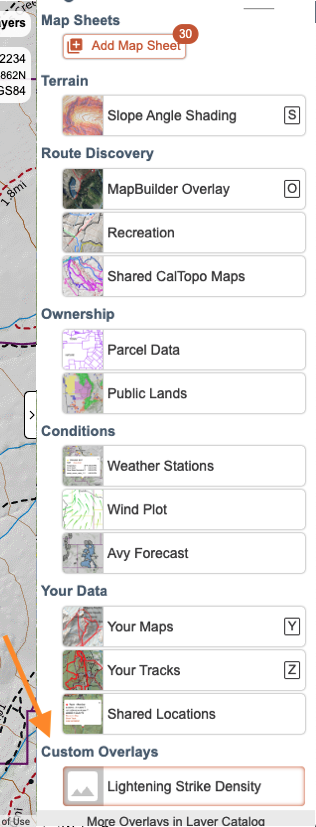
To create a custom layer, go to one of the Add New Layer menus. Similar to the Add New Object menus, these can be found in the left side bar and along the top menu.
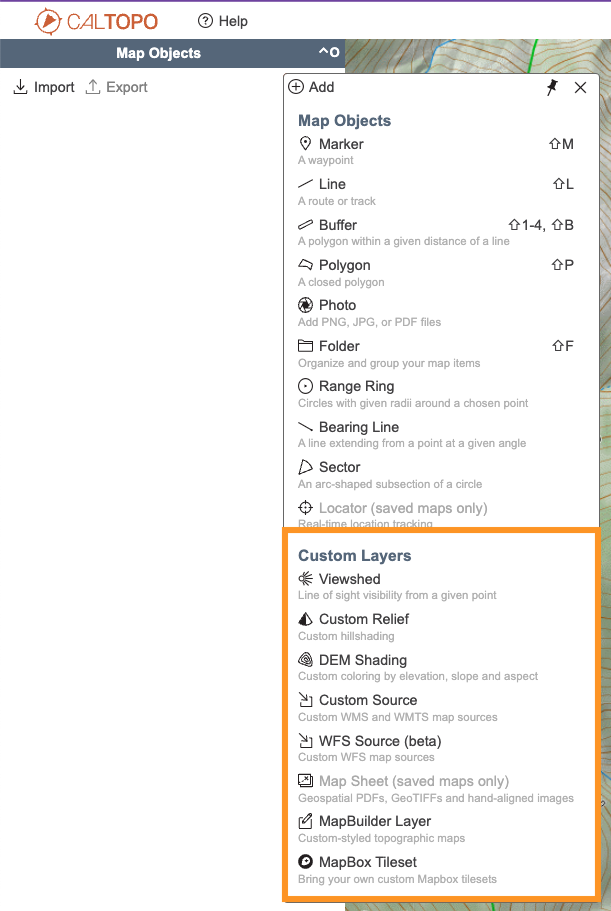
Click on the type of layer you would like to create and a dialog will appear for that layer. Below is an example of custom layer dialog.
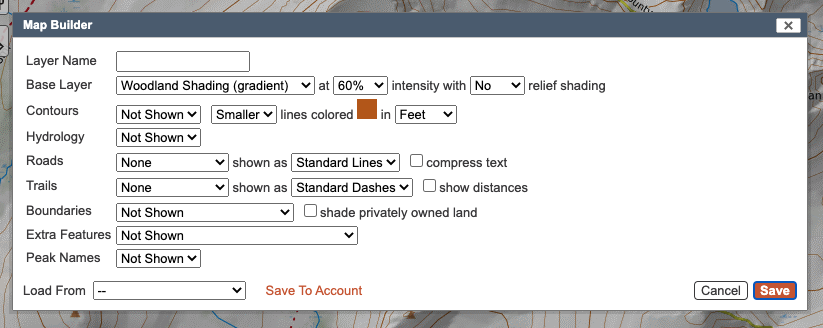
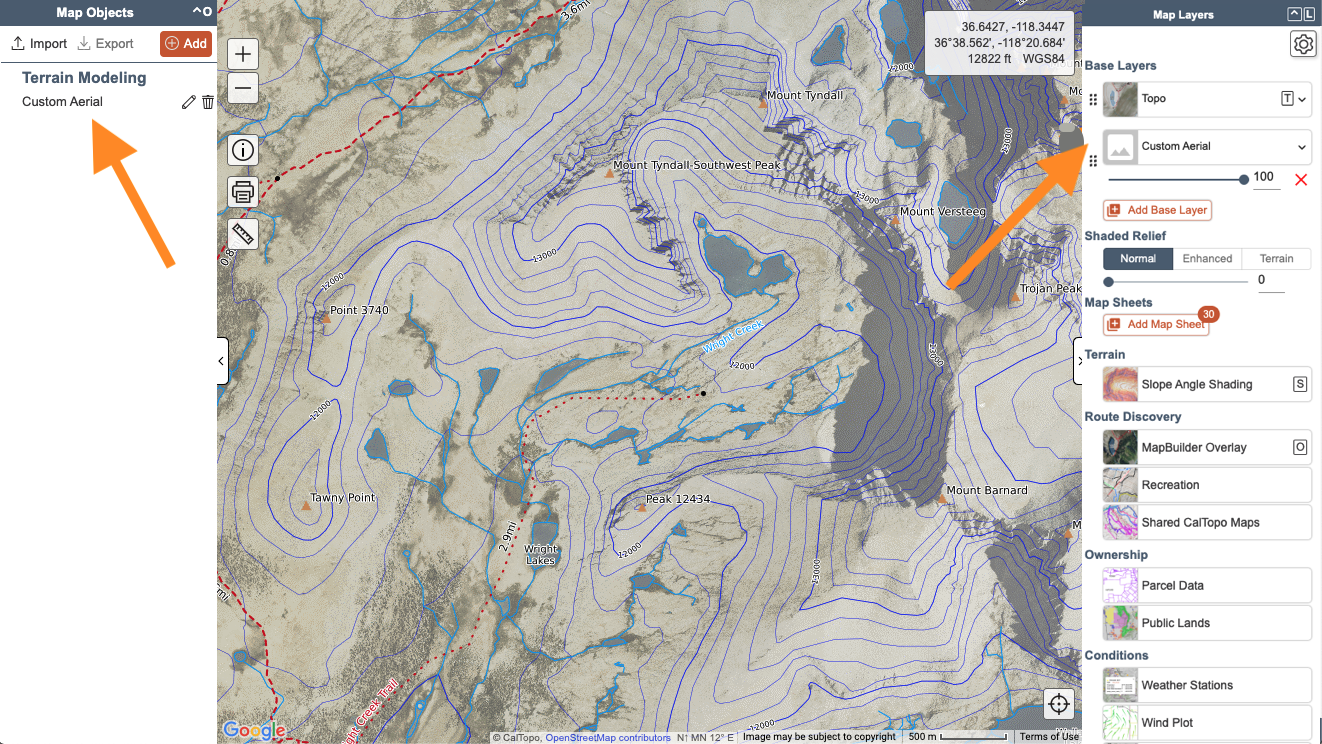
Fill out the dialog and then press Save or Ok. Your custom layer will be displayed in the map viewer, and will be listed in the left side bar in the Terrain Modeling folder and in the Map Layers side bar under Base Layers or Map Overlays, depending on the specifications of the layer.

Creating Custom Layers in the Mobile App
Click on the Map Items Folder icon in the middle of the upper menu and then select + Add Map Item.

Scroll down to Layers, select the custom layer you wish to create and a dialog will appear for that layer in the mapviewer.

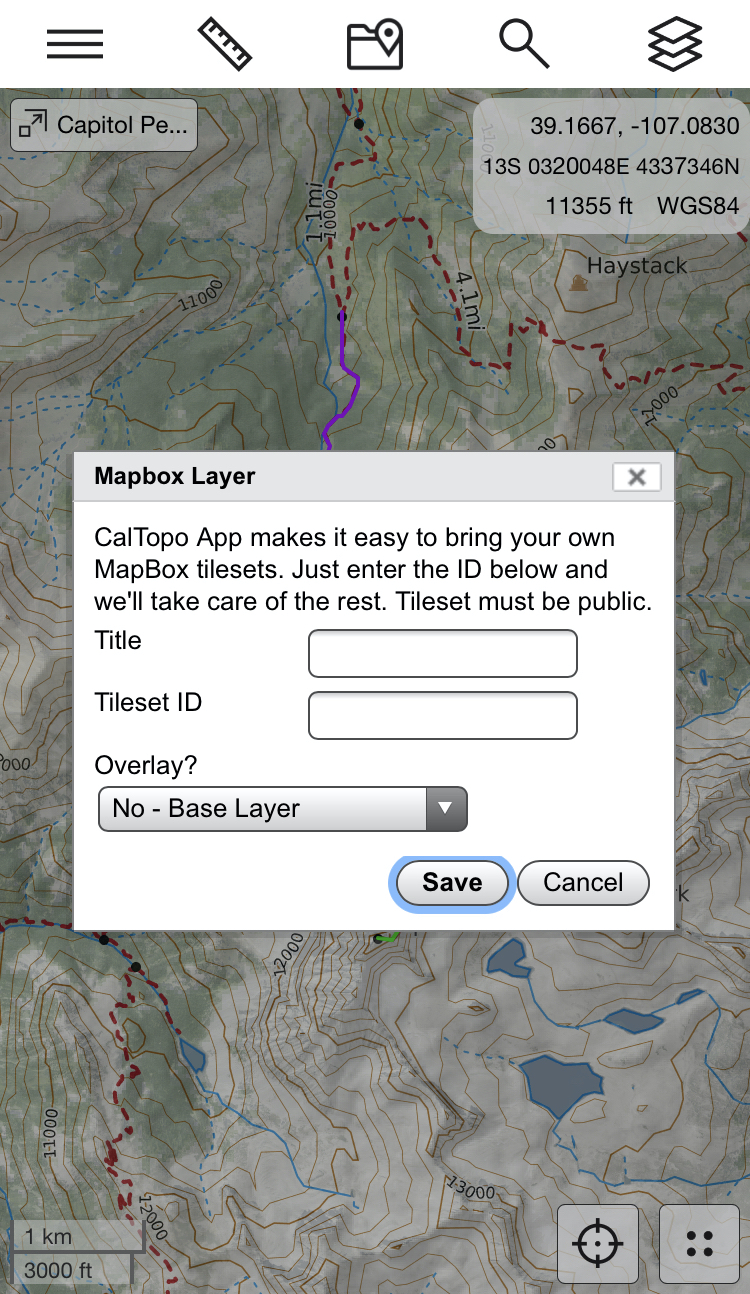
Fill out the dialog and then press Save or Ok. Your custom layer will be displayed in the map viewer, in the Map Items Folder in the Terrain Modeling folder and in the Map Layers menu under Base Layers or Map Overlays, depending on the specifications of the layer.
Edit a Custom Layer
You can edit a layer by clicking on the pencil icon that appears next to the custom layer in the left side bar.
This will bring the custom layer dialog back up and you can tweak the specifications for your layer and then press Save or Ok to see your changes reflected in the layer.
Save a Custom Layer to Your Account
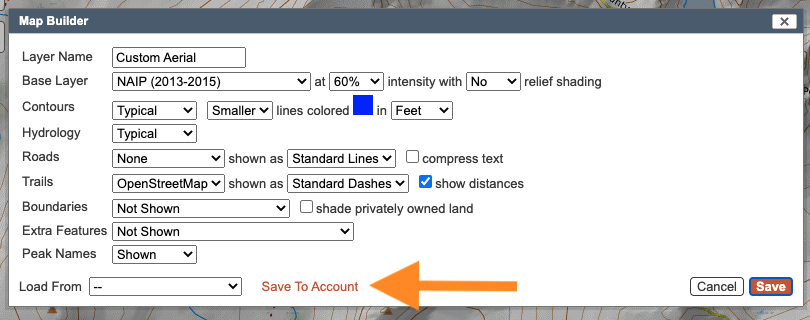
You can also save any custom layer to your account so that you can have the option to add it to future maps. To save a custom layer, simply click Save to Account in the lower left hand of the dialog that appears. The layer will then be saved to your account under Your Layers. You may need to refresh the page for the changes to take effect.

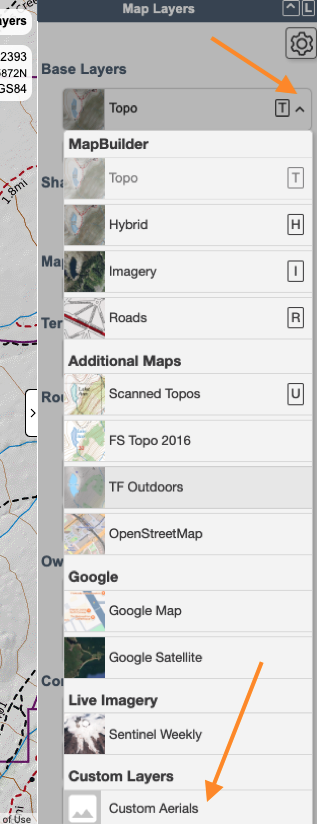
Layers that are saved to your account will appear in the Your Layers section of the drop down Base Layers menu or in the Map Overlays menu, depending on how they are configured.
Paying subscribers can also find saved custom layers in their KML Super Overlay File and for pro, desktop and team users in the WMS or WMTS Service.
Edit a Saved Custom Layer
You may notice that when you add a previously saved custom layer to your map, it only appears in either the Base Layers or Map Overlays menu, depending on the specifications. It no longer appears in the left sidebar which means you can’t edit it in the same manner you did when you first created it.
However, there is a workaround for editing saved custom layers. Click on any of the Add New Layer menus and then select the type of layer you want to edit. The dialog for that custom layer will open in the mapviewer. If you have previously saved custom layers of that type to your account, then you will see a Load From option at the bottom of the dialog.

Click the Load From dropdown menu and all the saved layers of that type will be displayed. Select the layer that you want to edit. The dialog fields will be auto filled with your previous specifications.

You can edit them directly here and then press Save or Ok to view your layer. You can continue to make changes as needed using the pencil icon next to the custom layer’s name in the left side bar.
Now that we have covered the basics for how to create, edit and save custom layers, let’s jump into the specifics for how to build layers within CalTopo as well as how to bring in outside data sources in the next two lessons.