CalTopo Overlays
let's begin
Overlays contain base layer data with a transparent or semi-transparent background. Overlays may be static or dynamic, providing information that stays constant, or that changes to provide near real time information. Overlays are best introduced using an example.
Please note: many of the CalTopo overlays are US-specific.
Lessons in this Chapter:
Topics on this Page:
- MapBuilder Overlay: An Example.
- Overlay vs Layer: What is the difference?
- Using Overlays
MapBuilder Overlay
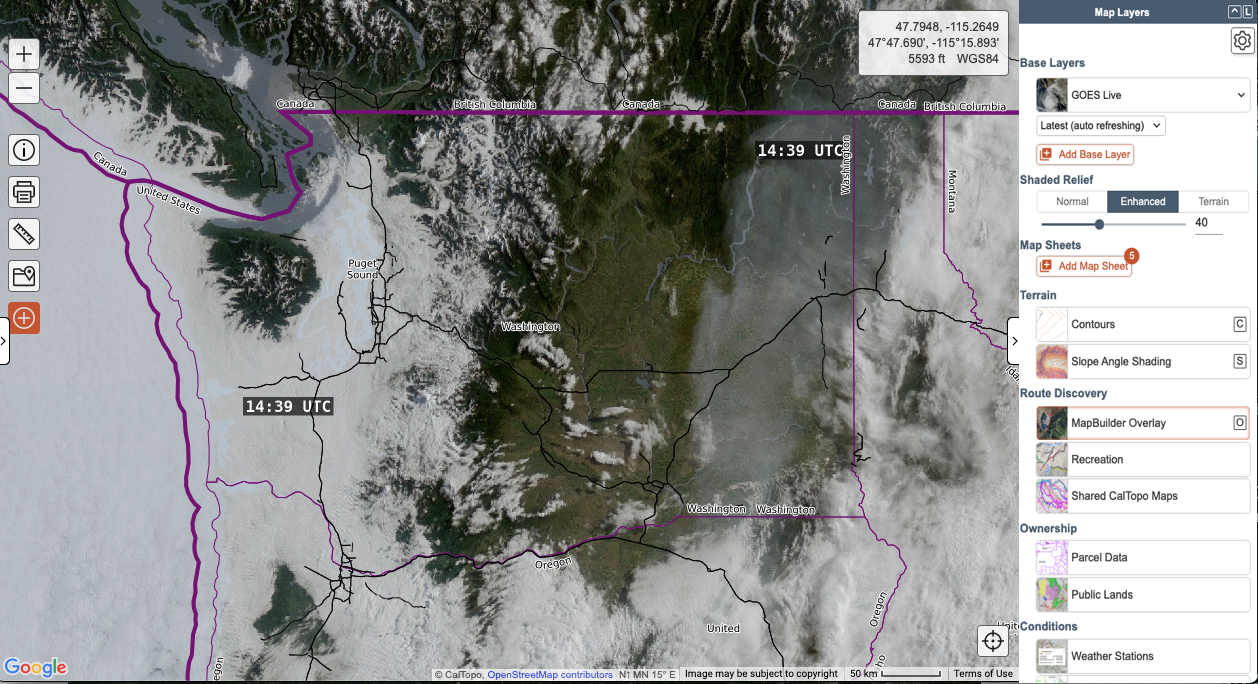
Let’s consider a scenario where we are looking at a satellite image, and it is difficult to determine the relationship between the satellite view and what area of the world the satellite covers. The MapBuilder Overlay provides context by adding administrative boundaries such as states and counties, as well as major roads and trails.
Here is a satellite image full of smoke and clouds, and it’s hard to tell where the land ends or even how big of an area is framed in the mapviewer. Adding the MapBuilder Overlay provides significant context without totally obliterating the base image.
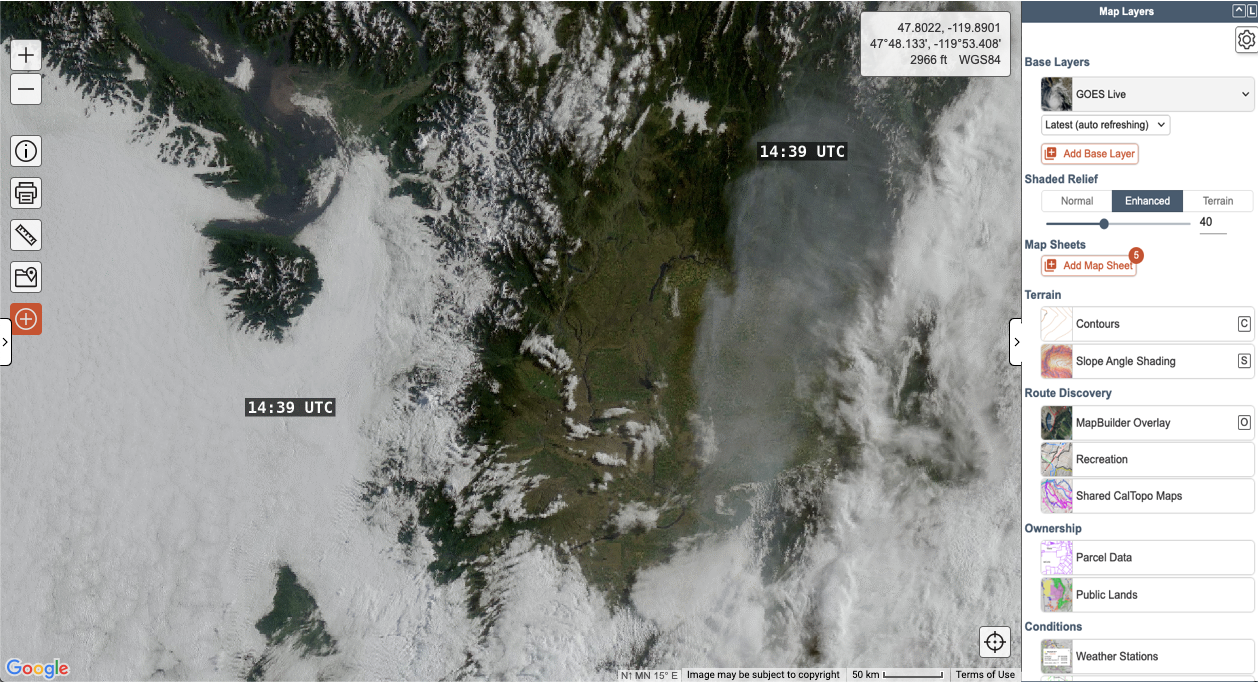
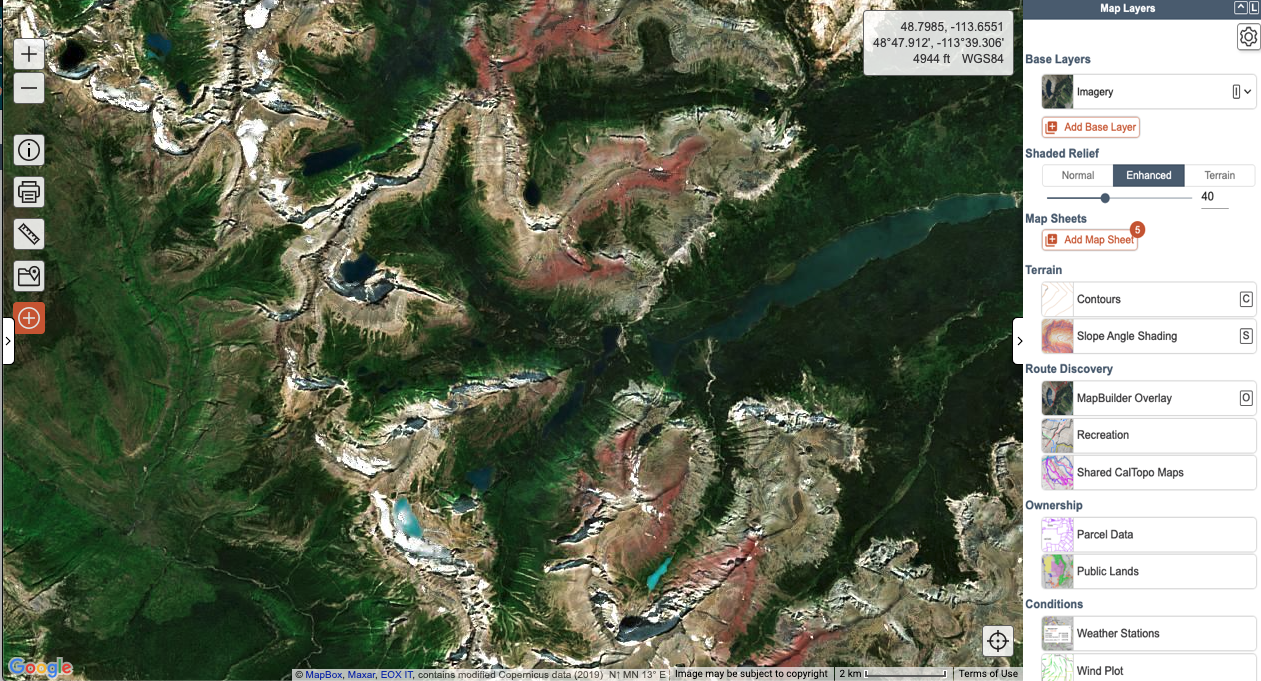
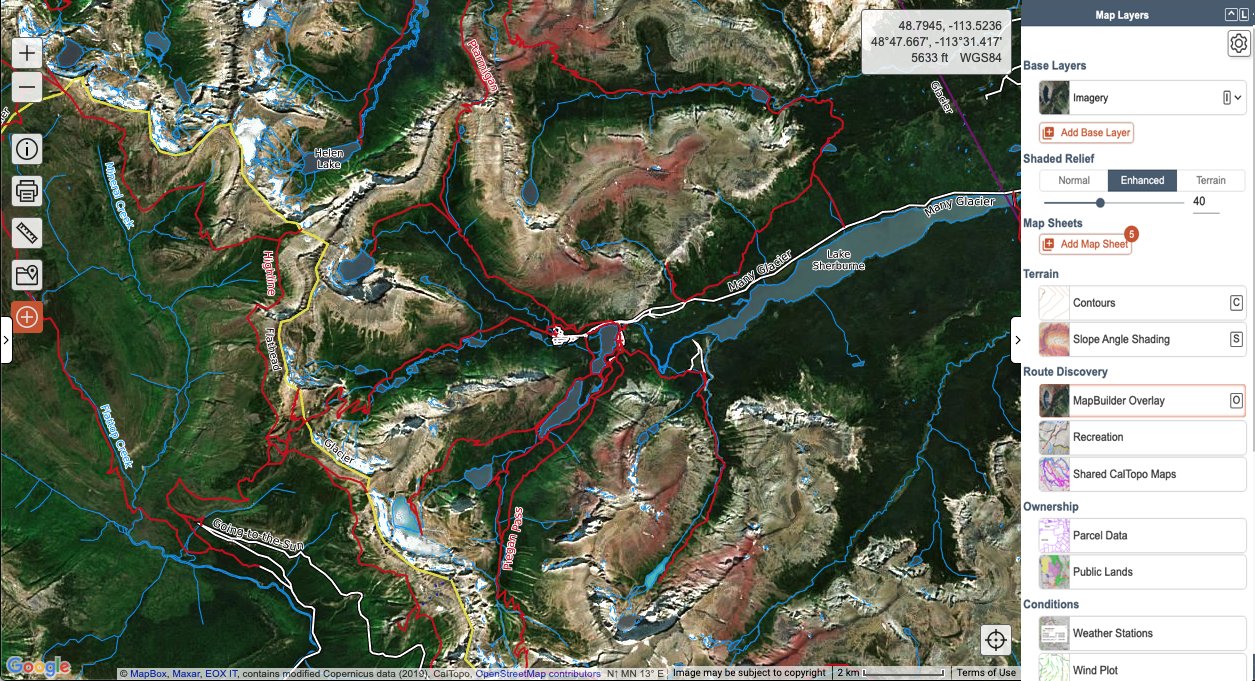
The MapBuilder Overlay provides context to this Global Imagery Layer within Glacier National Park, adding trails, watercourses, and lake and peak names.
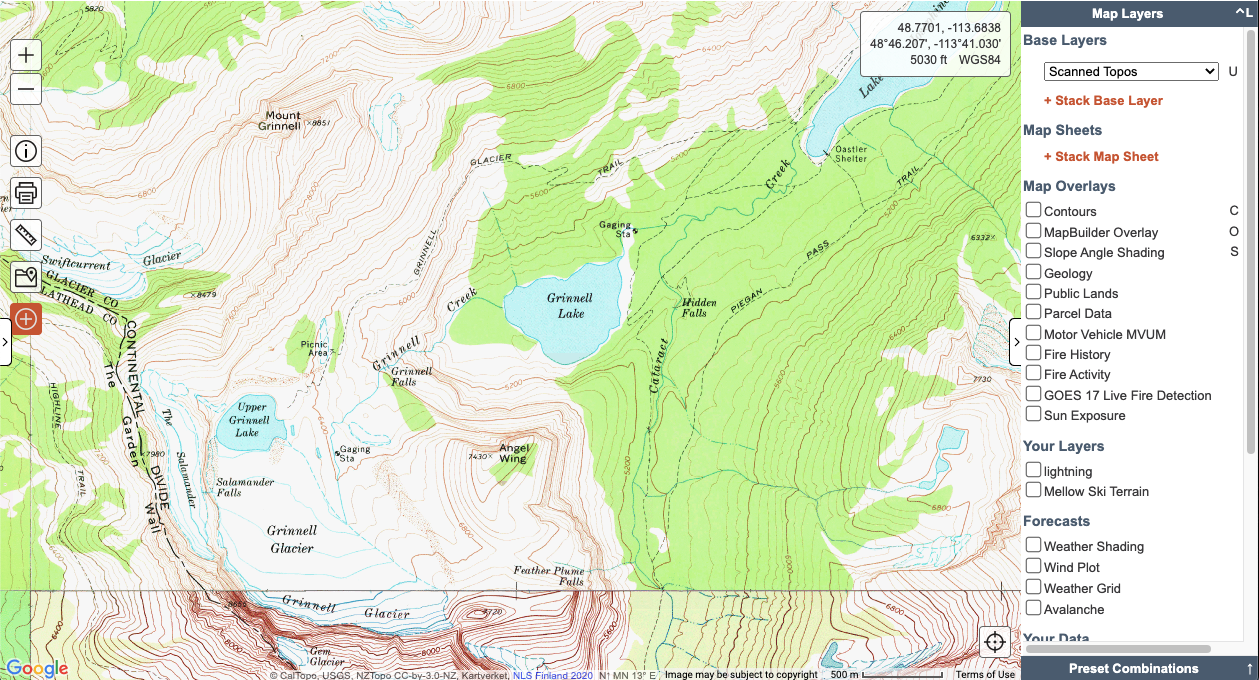
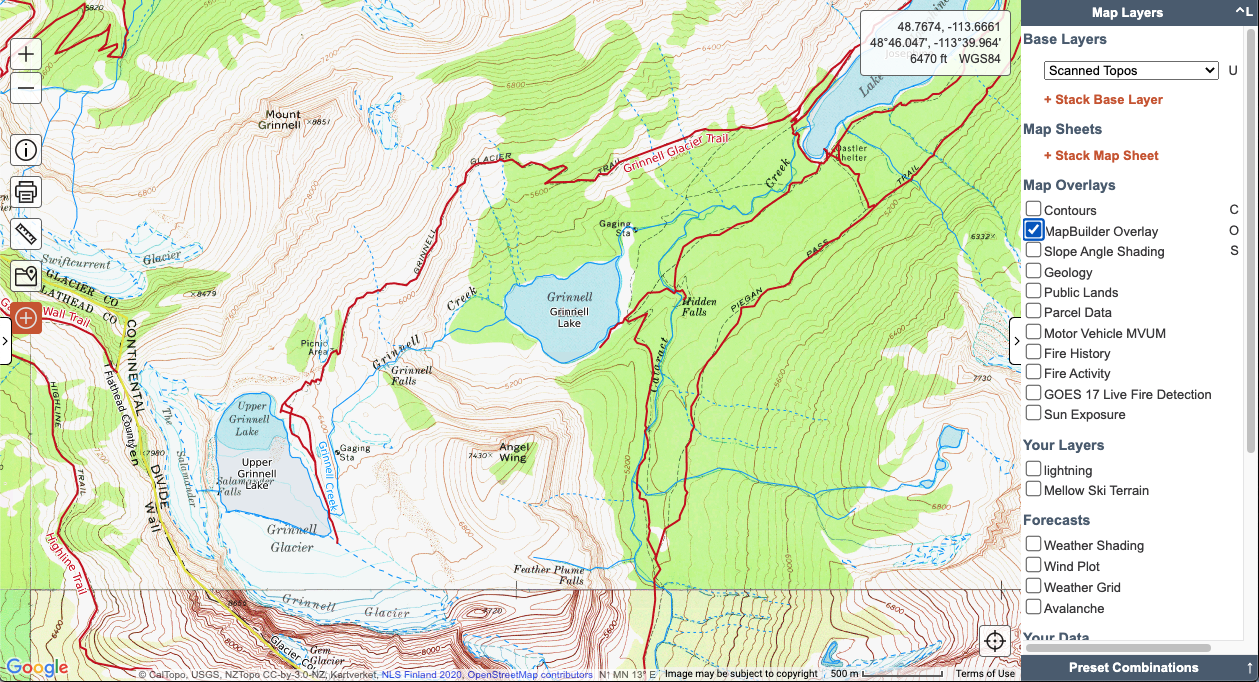
Overlays can be added on top of any base layer. Here we’ve added the MapBuilder Overlay on top of the Scanned topo layer and zoomed in quite a lot to zoom level 15. One thing we can find out by doing this is that the trail alignment maybe no longer matches all of the historic trails, and some trails may no longer exist.
As the MapBuilder Overlay data often comes from Open Street Map, these trails could be more accurate than the map because they have been added via GPS and satellite data. Or they could be less accurate if no one has added all of the trails to OSM yet. See our article about map accuracy for more details.
Overlay vs Layer
Now that you have a basic concept of how an overlay works, let's move on to other overlays and deeper concepts. You can add an overlay to your map no matter what base layer you have selected, and there is no limit to how many overlays you turn on at the same time. Your map may slow down or get very messy and hard to read if you add a whole bunch of overlays at the same time though.
What makes something a layer vs an overlay? Well, to some extent, there’s not much difference. In general though:
Layers:
- Stand alone
- Not automatically transparent, though you can adjust a second layer that is stacked on top of the first layer
- Are in the layers list
- Not calculated upon request for that layer
- Display order is flexible
Overlays:
- Focus on a specific data set and therefore work in conjunction with a base layer
- Are transparent to some extent - placed on top of base layers, but opacity and order of display can’t be adjusted. They may not cover the entire area, only showing data where some condition is met.
- Some are calculated when requested
- Can be created from data that is constantly changing - such as weather forecasts
- Are in the overlays list
Some overlays are more static and they don’t update on a regular basis or set interval. They are data sets that may change quarterly or annually, but compared to forecast layers and live layers, these overlays are fairly consistent over time, or only change when new data is added to them (such as Your Maps).
On the other hand, some more dynamic overlays might update every few minutes, such as the GOES 17 Live Fire Detection overlay. Other often-changing overlays include the weather forecast set, and the Realtime Data set.
Using Overlays
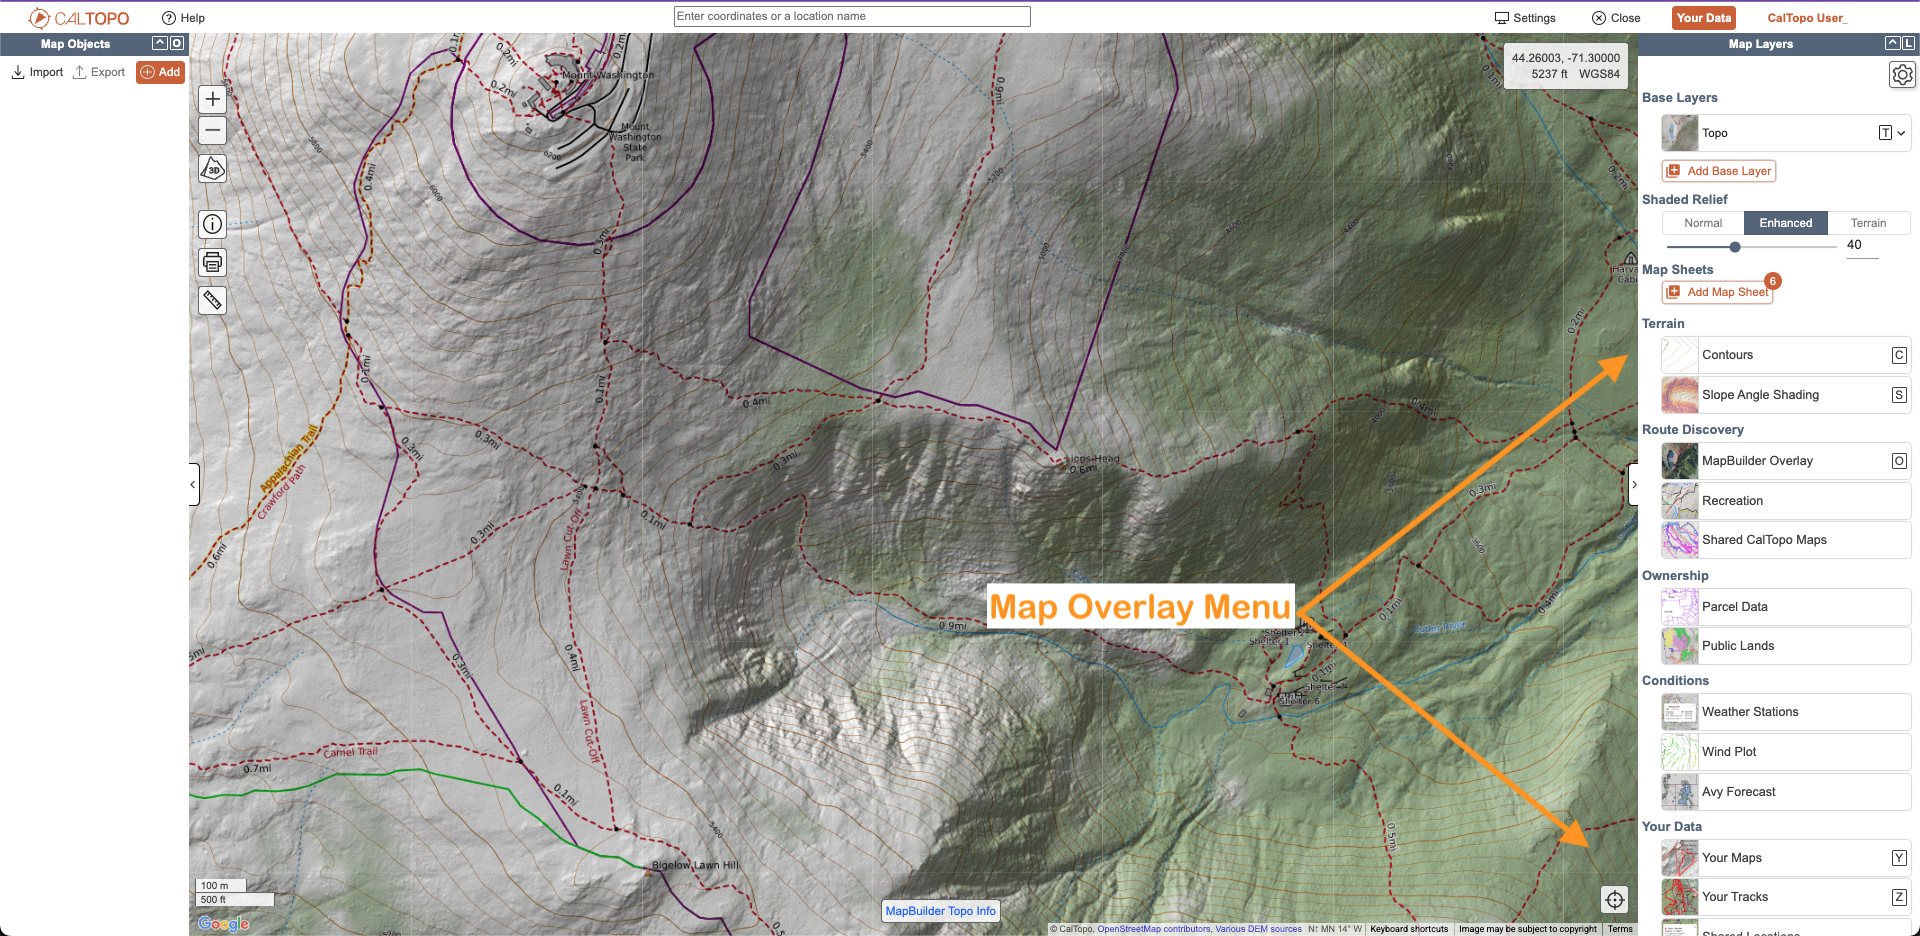
Overlays are found as check boxes in the right hand column of the map viewer, below the layers selector. To turn an overlay on or off, just click on the checkbox. Some overlays will have additional options after you turn them on. These usually appear as a drop-down menu next to or below the overlay name.

Overlays in the Mobile App
Not all overlays are available in the mobile app.
Compared to the online program, in the mobile app you will NOT see the following:
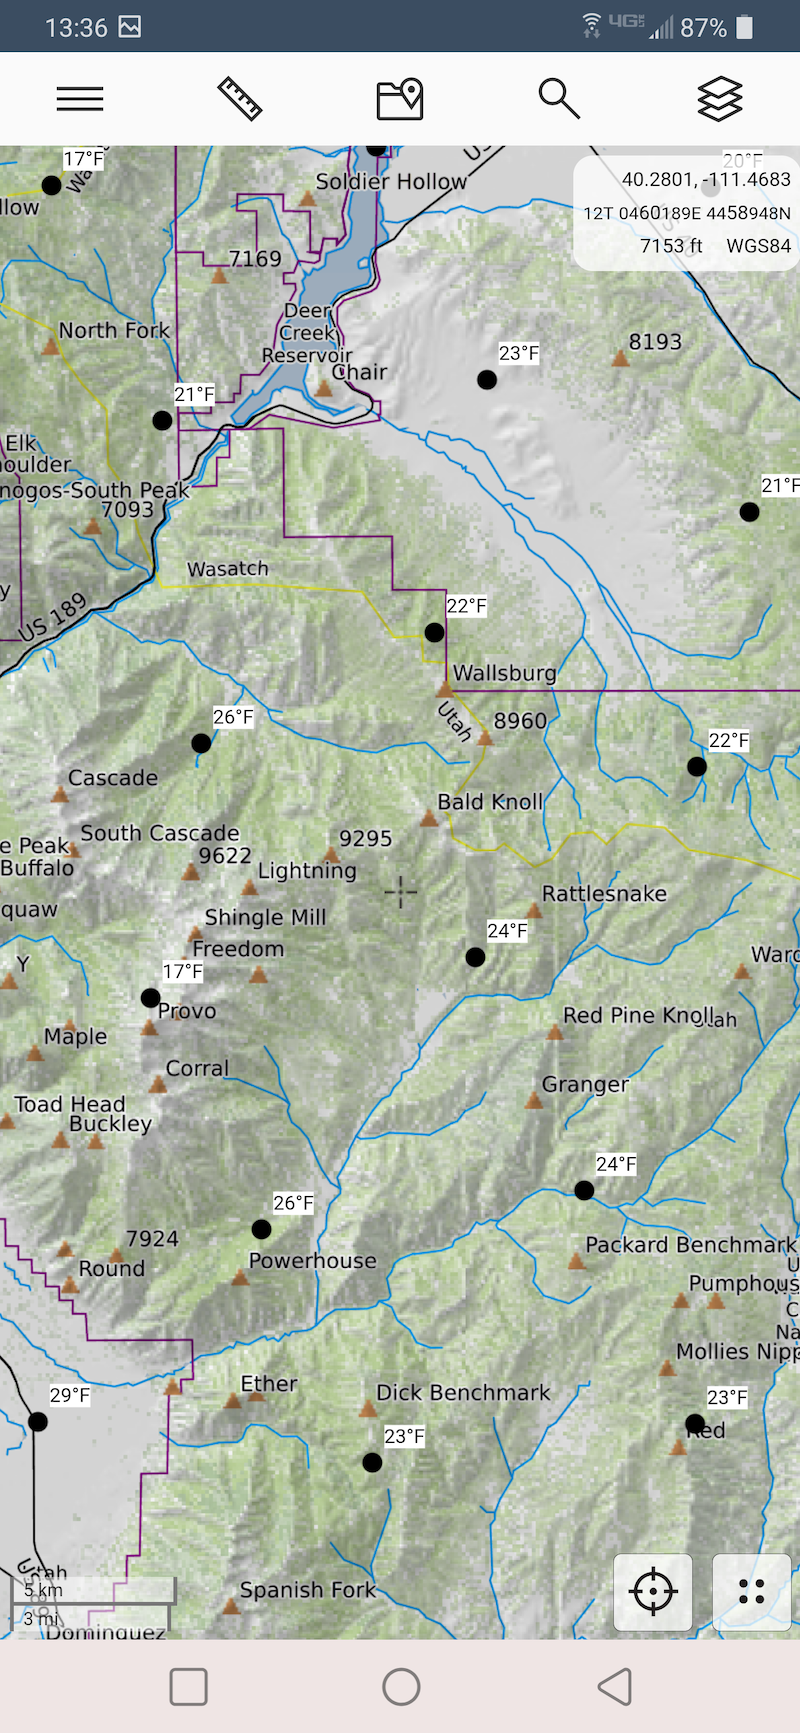
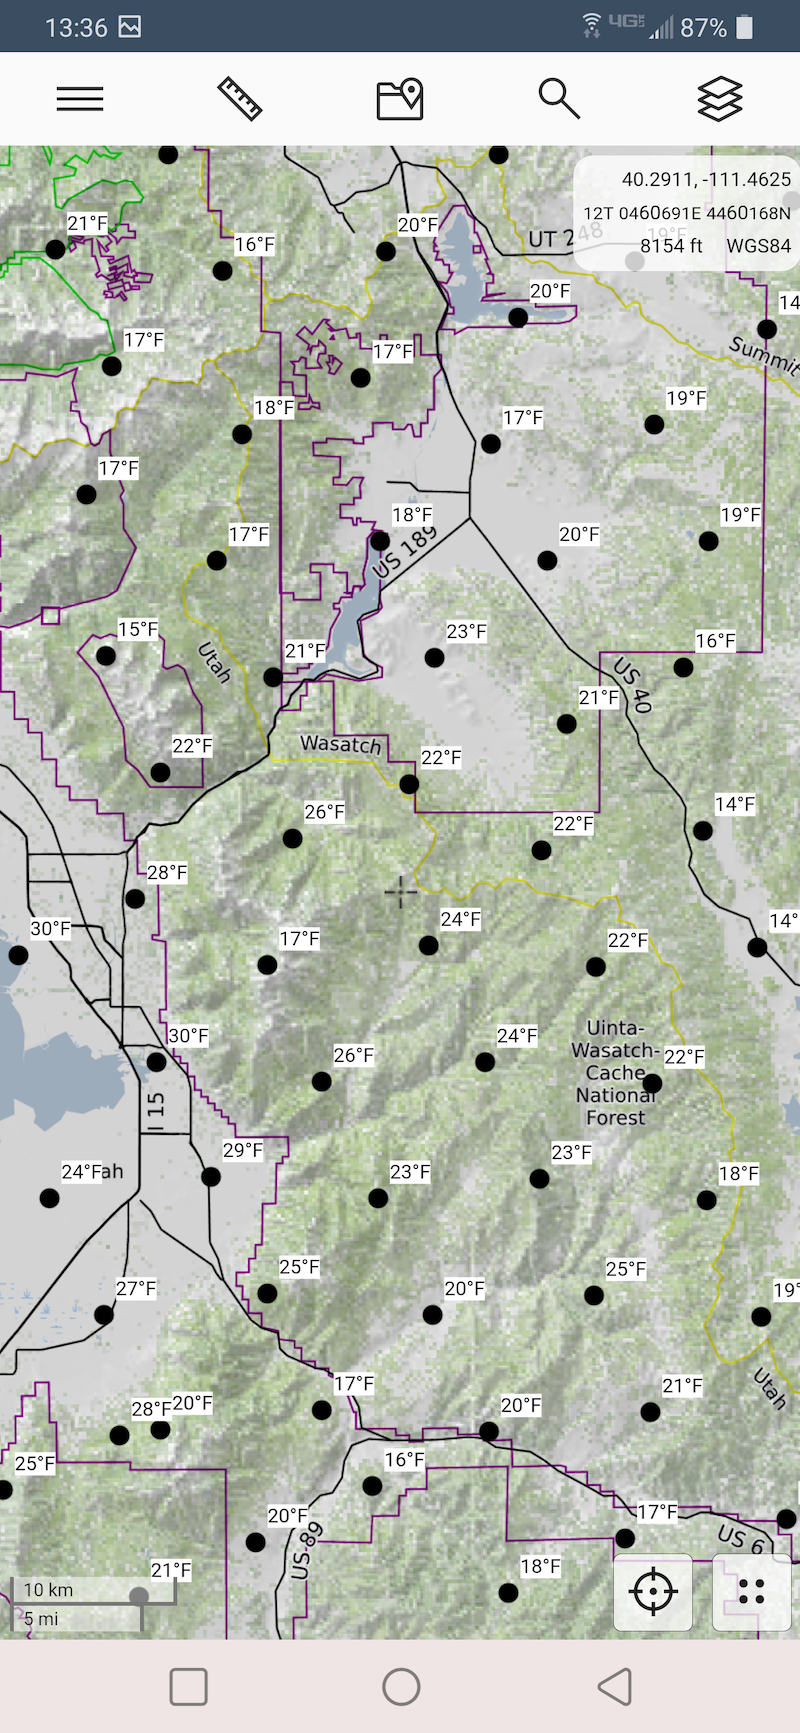
- Weather Shading
- In the Your Data overlays Your Maps are not available
- Shared Data (shared CalTopo Maps, shared MapSheets)
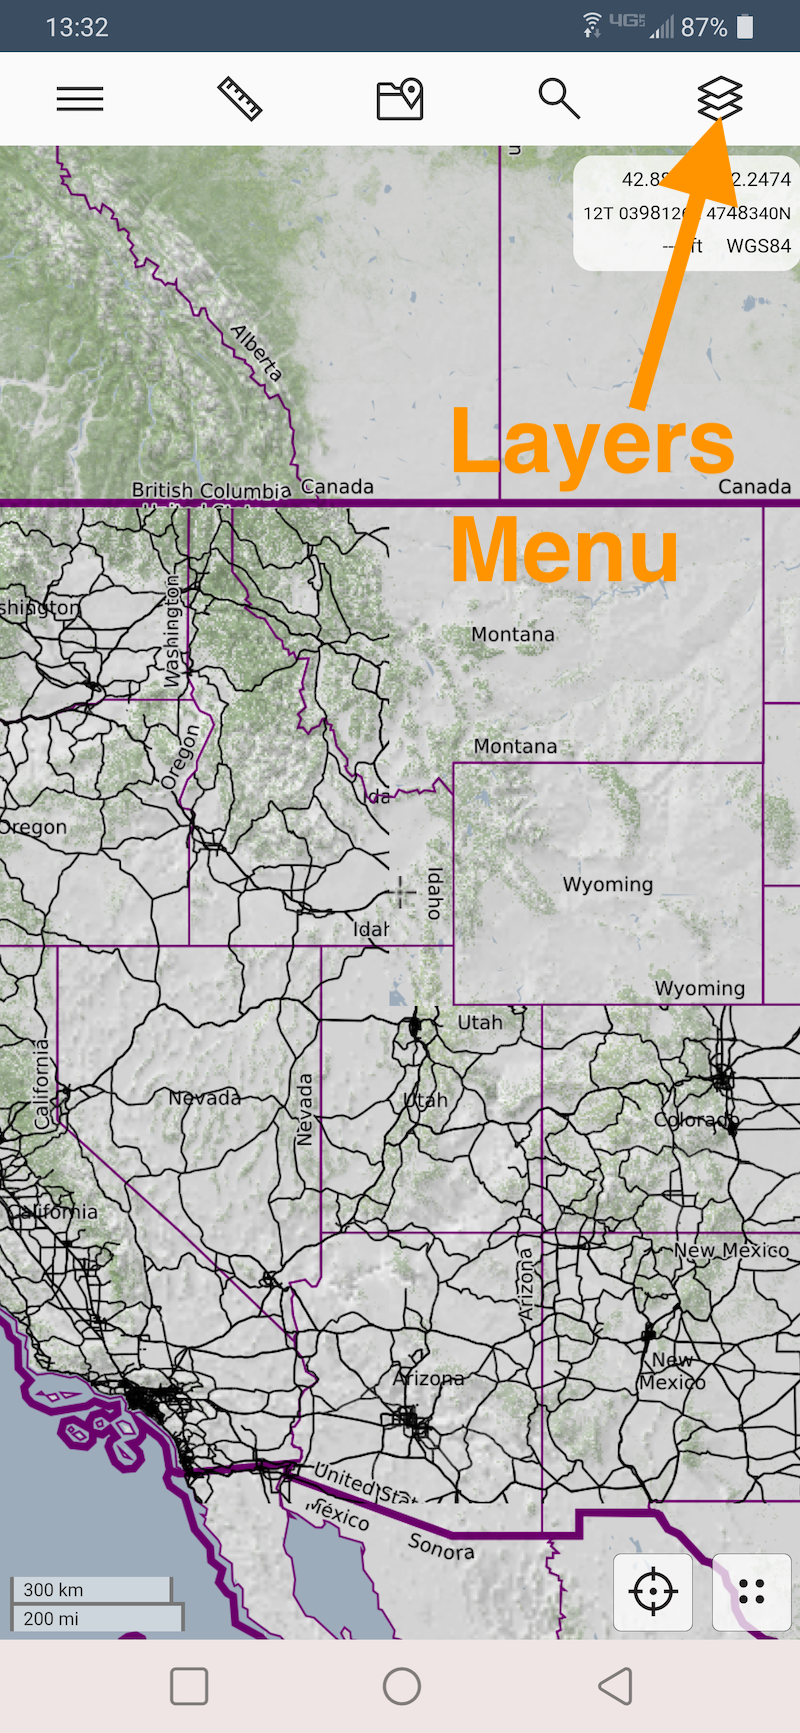
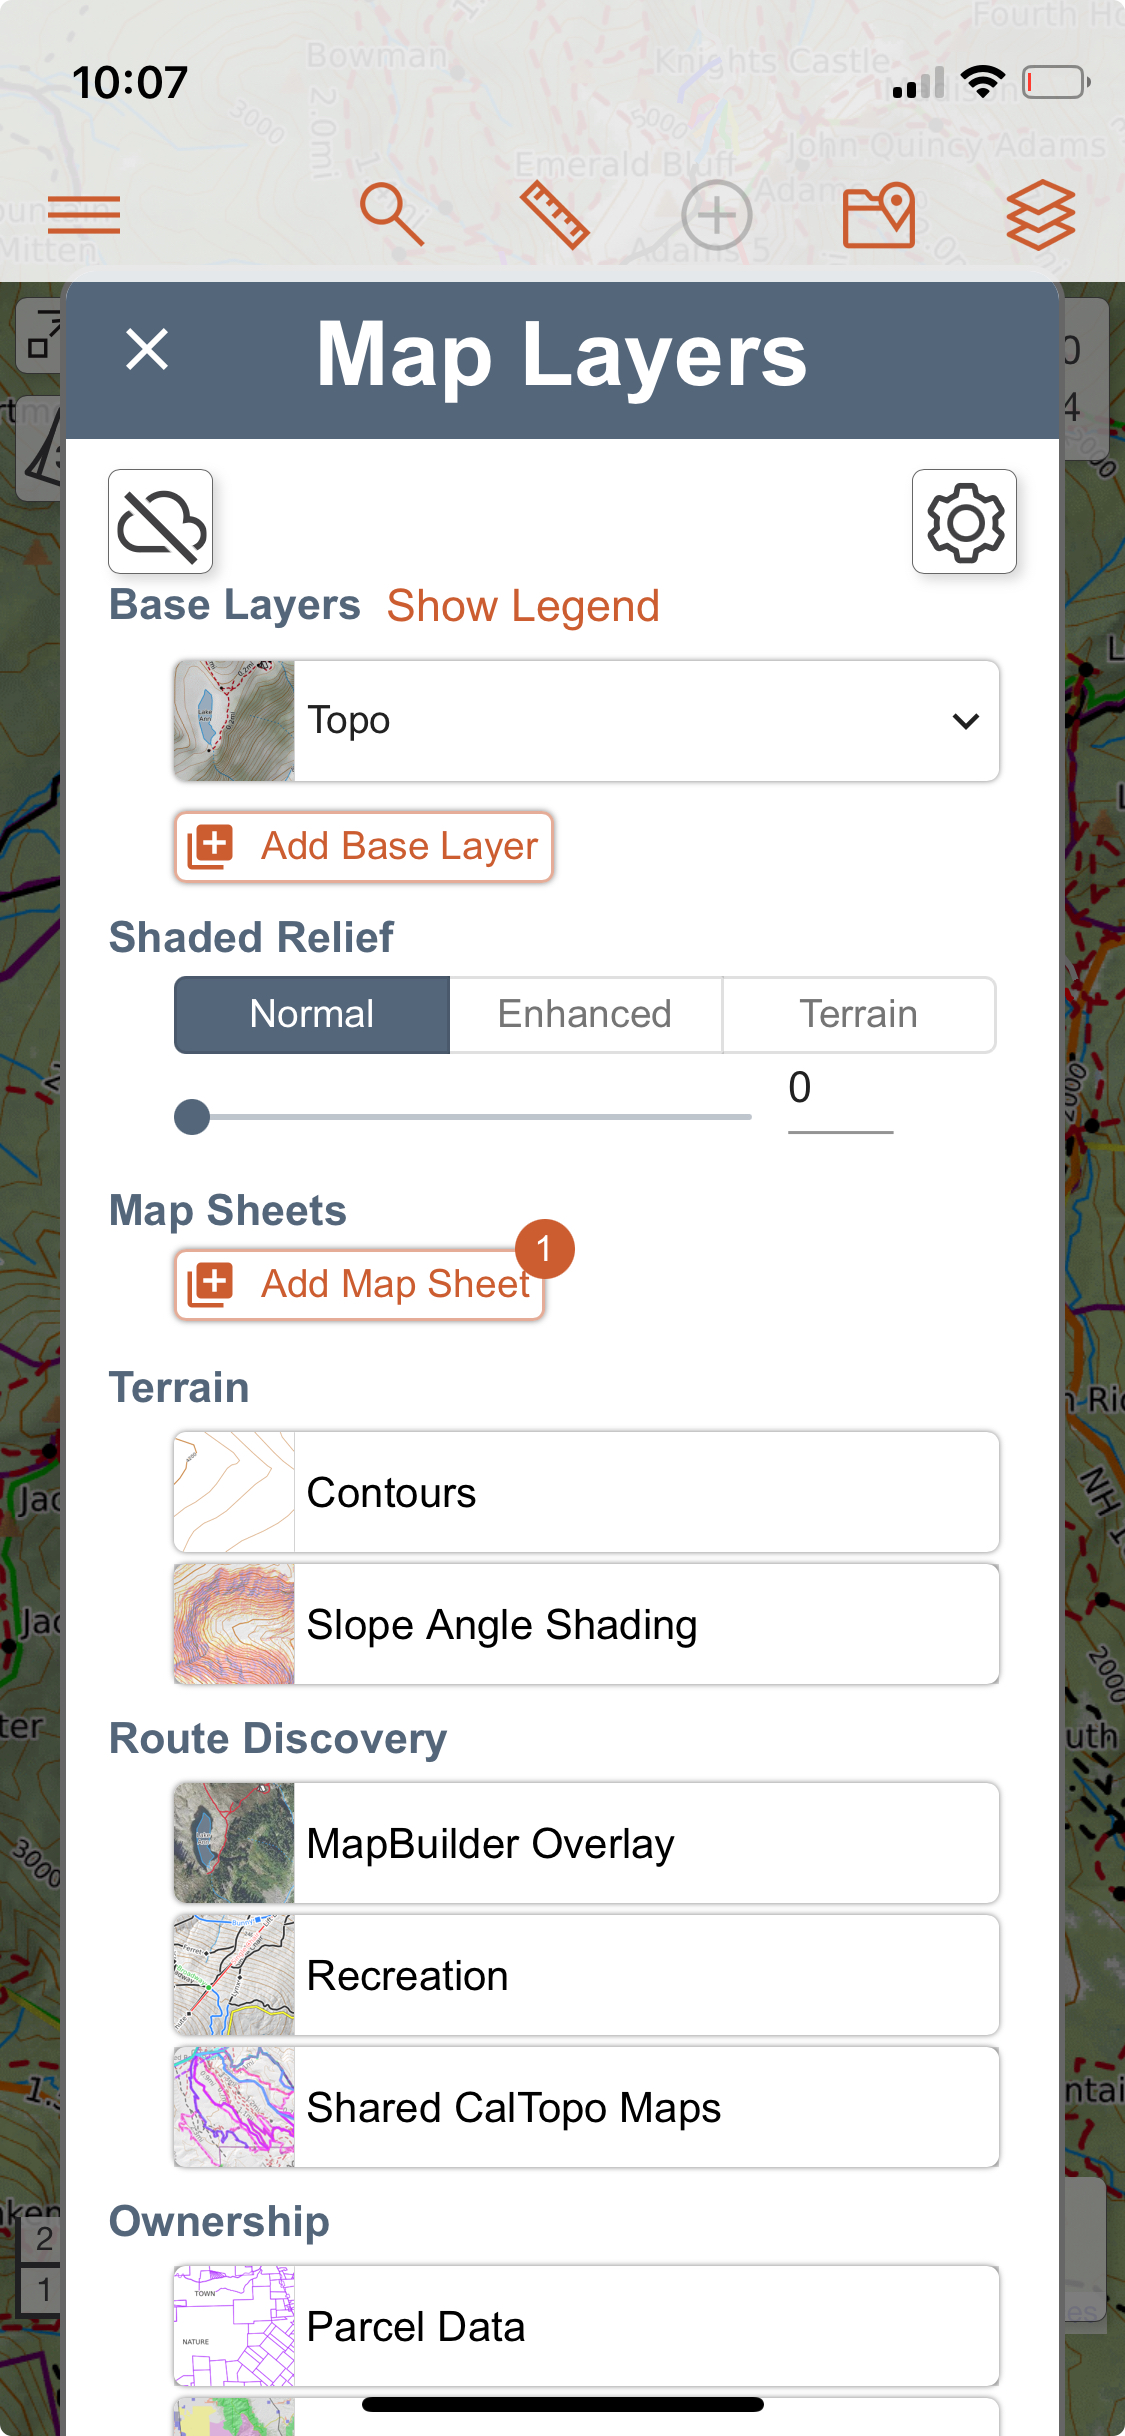
Access the overlays menu by clicking on the layers icon in the upper right corner of the app. Click the checkbox next to an overlay to display it. Select as many overlays as you would like, then use the back arrow at the top left corner to go back to the map viewer.
If you select an overlay but find that it does not seem to be displaying any data, try zooming in more on the map. Some overlays, such as the Weather Grid, will not open at wider zoom levels, as the data would overwhelm the map display.