CalTopo Desktop
let's begin
The CalTopo/SARTopo Desktop program is primarily for users who need to use the program without an internet connection.
Desktop operates in your web browser on your computer, by starting a server on your computer to run it. In this chapter, we will cover how to download and install the program, how to get setup to run offline, and how to sync maps.
Lessons in this Chapter:
- Downloading Base Layers for offline use.
- Syncing Maps between your computer and your CalTopo account.
Topics on this Page:
- Important Information before you start.
- Installing Desktop for Windows or Mac.
- Running the Program for the first time.
- Migrating from an exisiting CalTopo Desktop installation.
Please Note: Desktop is not the mobile app. They are very different in how they run and their intended purpose. Desktop does not have track recording or navigation the way that the mobile app does. Most users looking to use CalTopo "offline" will want the mobile app.
Some users with specific use cases will want the CalTopo or SARTopo desktop program. Desktop does not include any features that are not available in the live web program.
Important Information about CalTopo Desktop
As of December 2020, CalTopo is changing the interface for how to install the Desktop program. It now has a package installer, making installation and setup much easier than before.
To utilize this software, an active and current desktop subscription for each installation is required (a team account includes Desktop software access). Maintaining your subscription does NOT require syncing your MAPS to the cloud. You can sync your account while keeping all your maps and map data local.
If you for some reason unsync your account, the program will not work until you re-sync it while connected to the internet.
Syncing your account to the cloud does not require syncing your maps. We know some jurisdictions choose to keep all of their map data local and not share it over the internet. Syncing your account will not change the status of your map data. Maps are still synced separately.
CalTopo and SARTopo are now one program. Whichever one you want to use, you will download one package, install it, then choose which server to connect to.
Installing CalTopo Desktop
Windows vs Mac: While the processes for Windows and Mac installations are very similar, there are a few small differences. There are instructions for both included here.
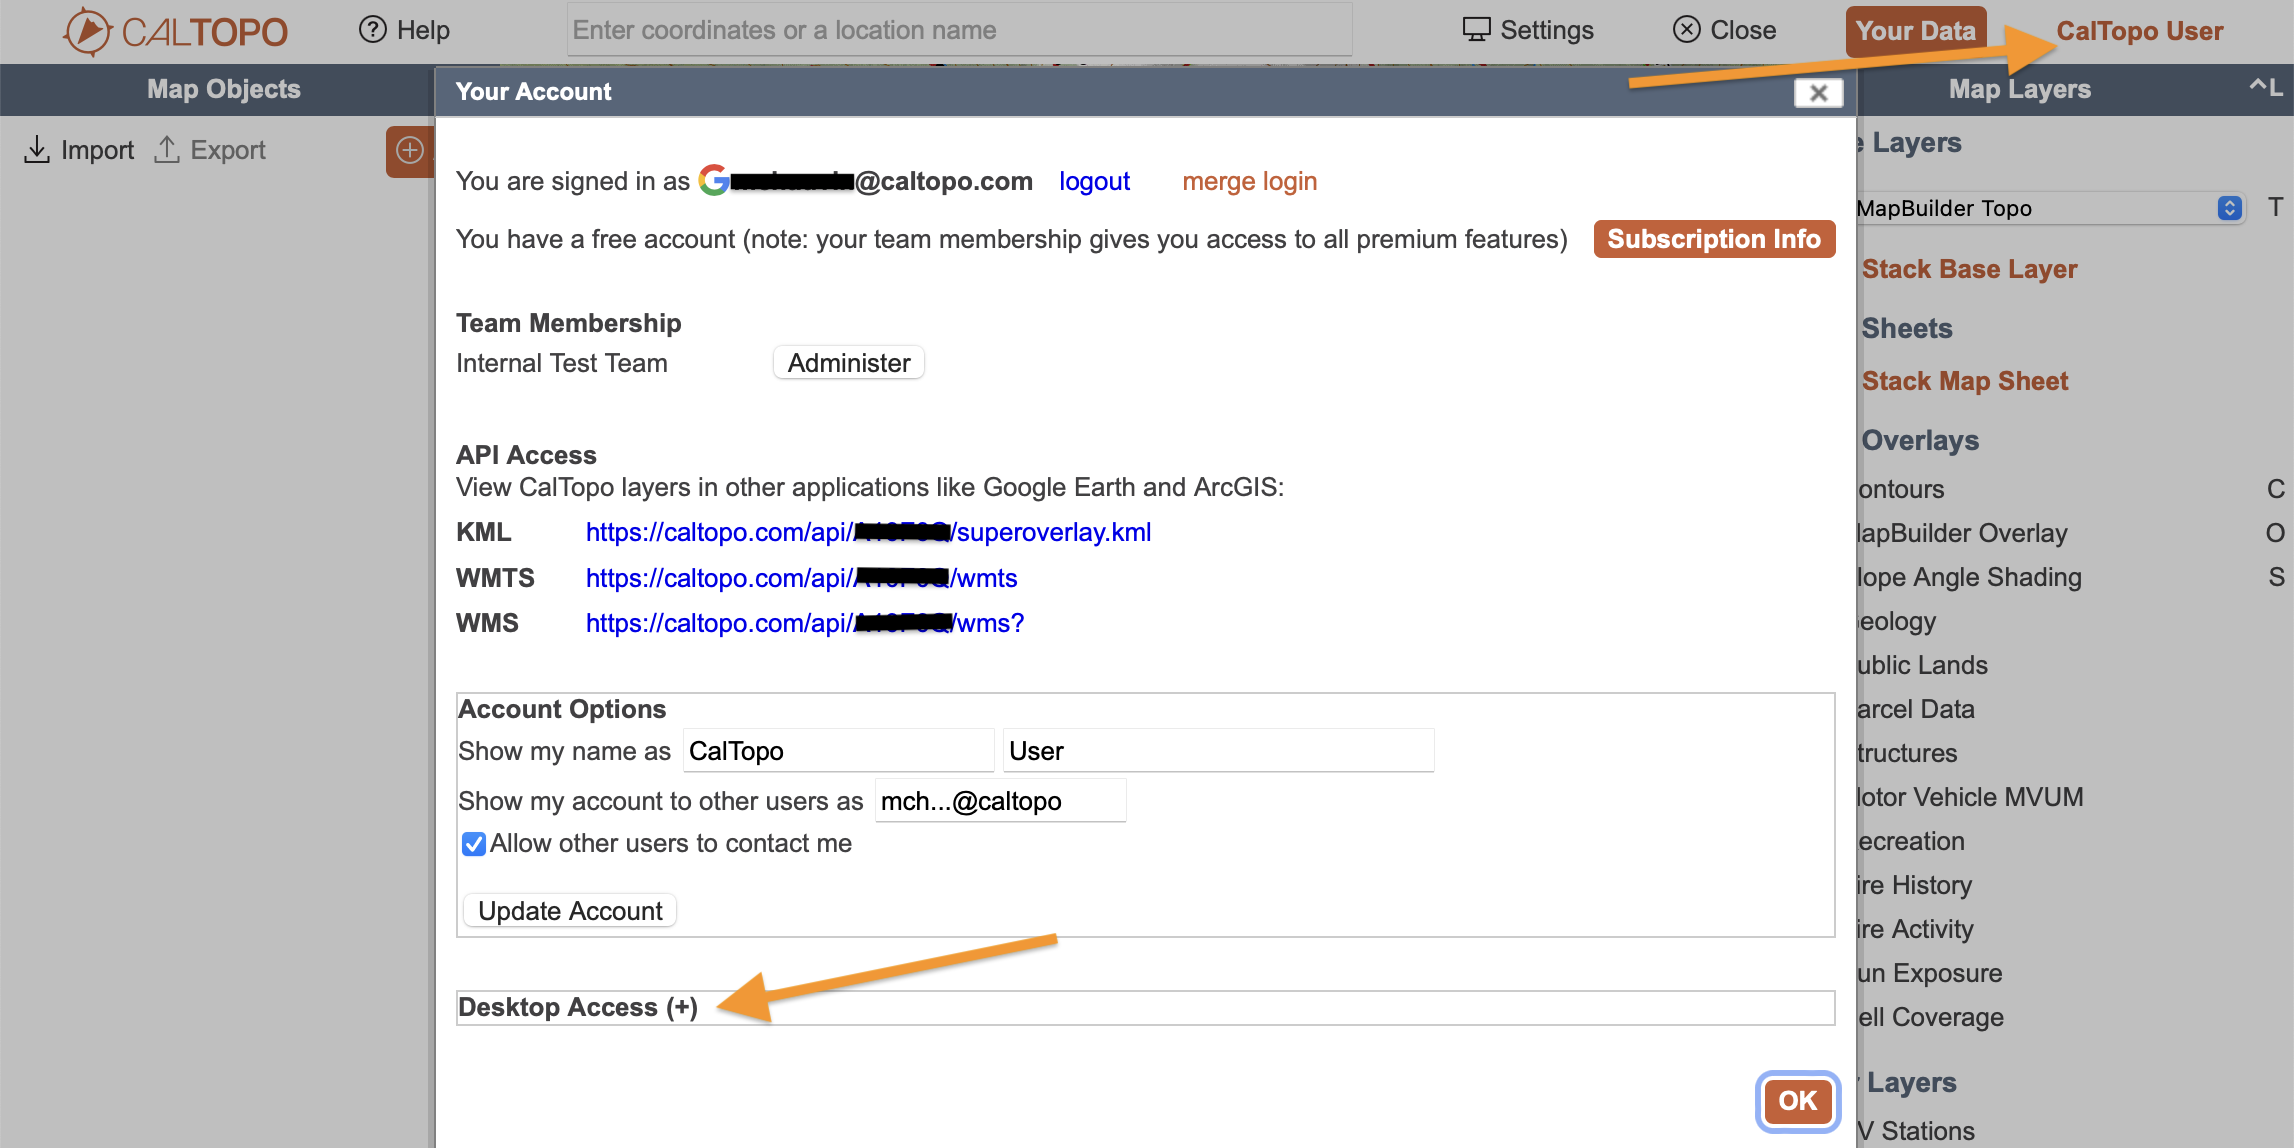
If you have purchased a Desktop subscription or are a member of a team or enterprise account, you can download and install the desktop app. To access the desktop app, log into your account and then click on the your account name in the upper right of the map viewer. There you will see "Desktop Access(+)". Expand that and you will find a link "Download CalTopo desktop installer".
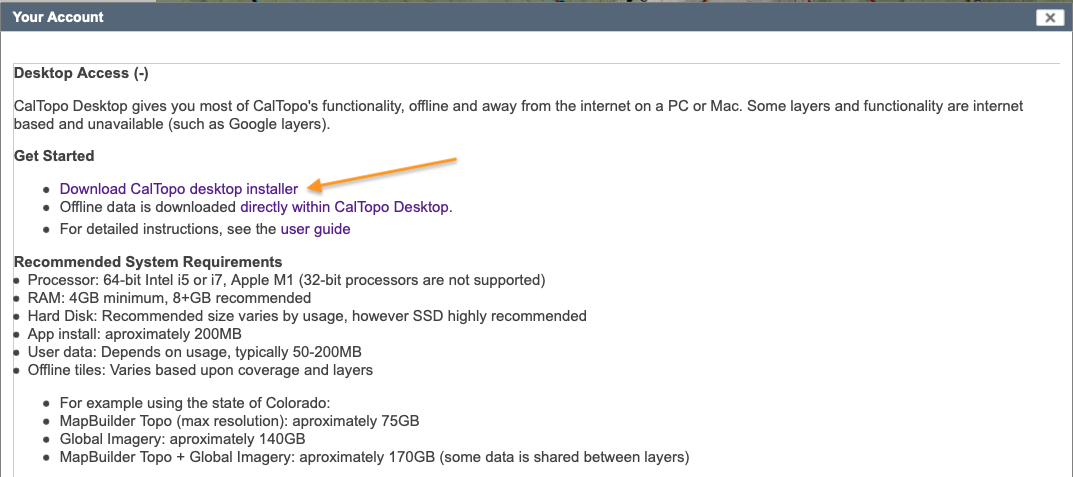
Once you click the link, it will open a new tab with the information below. Select the Mac or Windows installer.
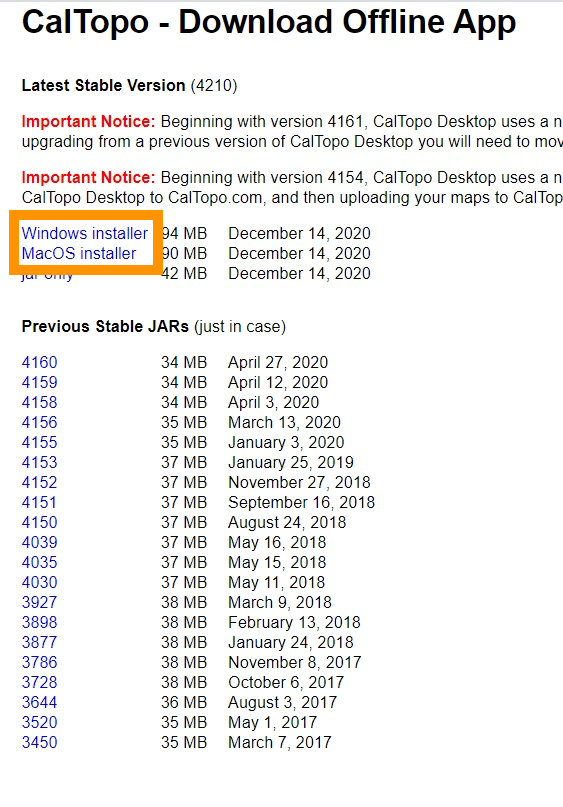
The file is called CalTopo-Desktop.dmg for a Mac and CalTopo-Desktop.exe for Windows.
Open the file by double clicking on it from your downloads folder. The package will begin installation.
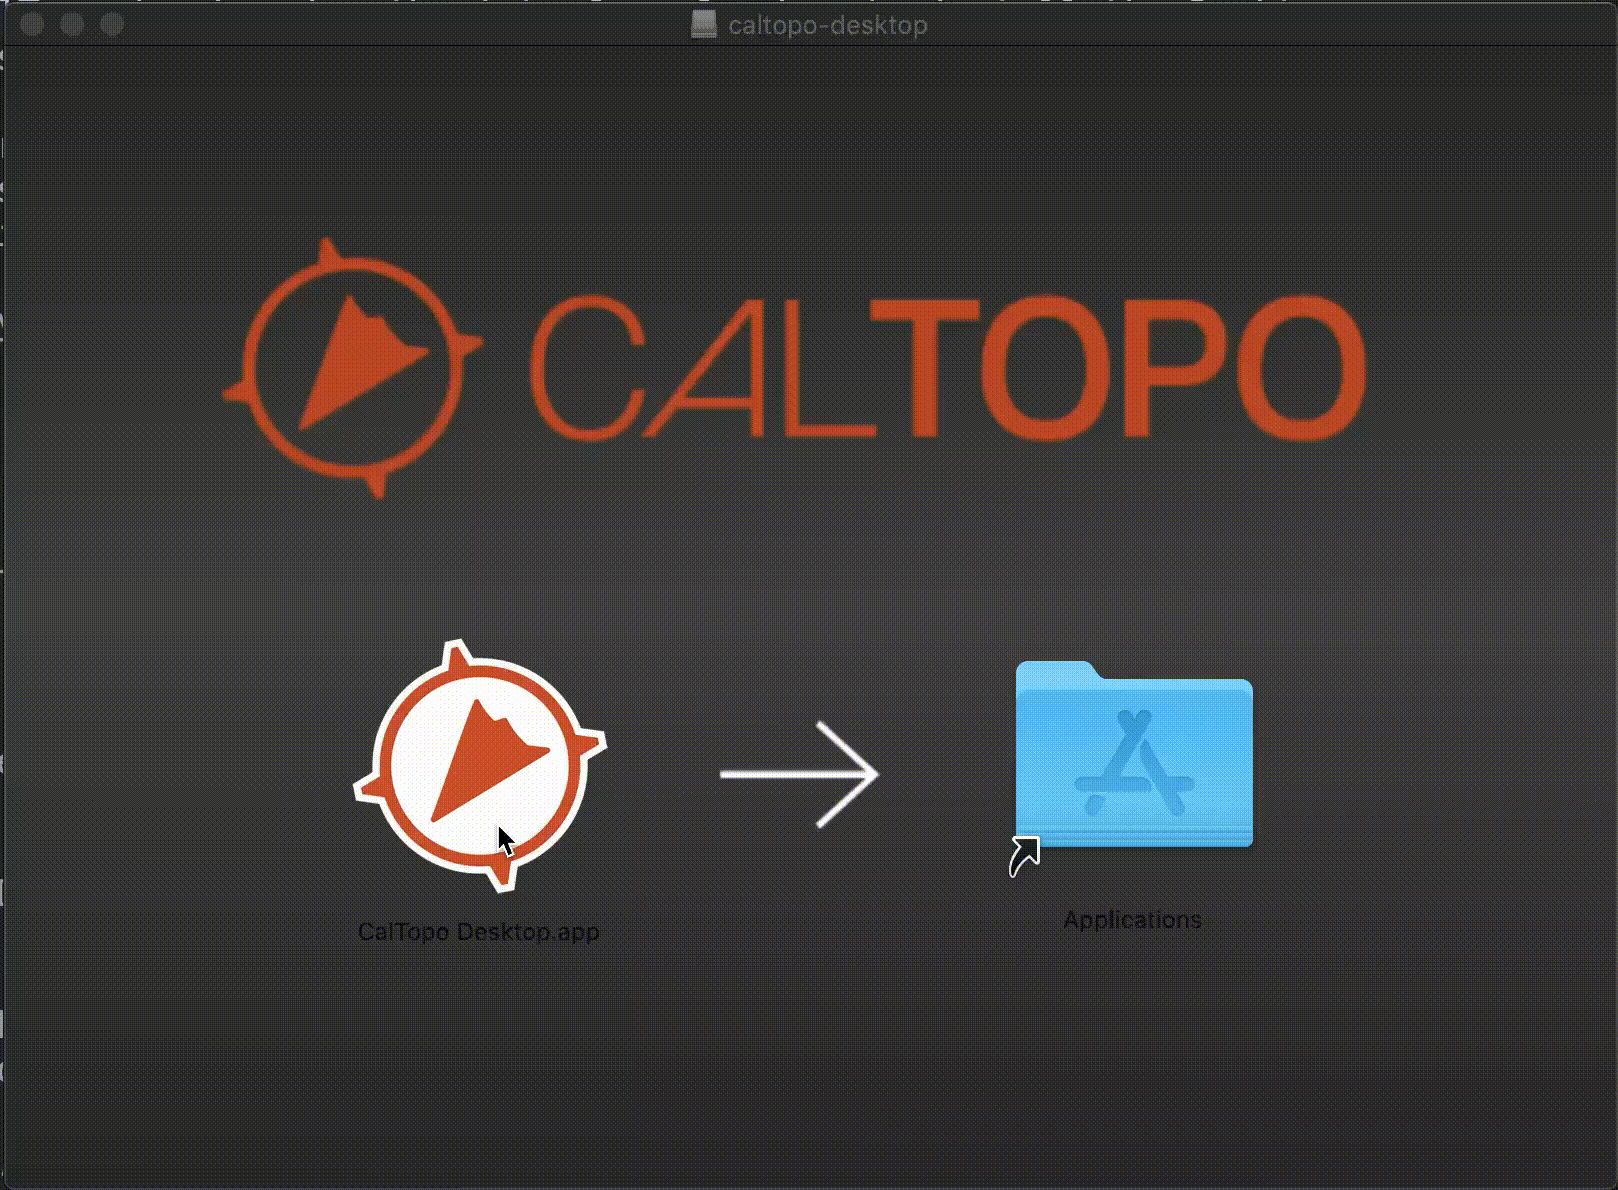
At this point, Mac and Windows diverge. On a Mac: drag the CalTopo icon into the Applications folder. You are now done installing CalTopo Desktop.
On a Windows PC, you will get a warning:
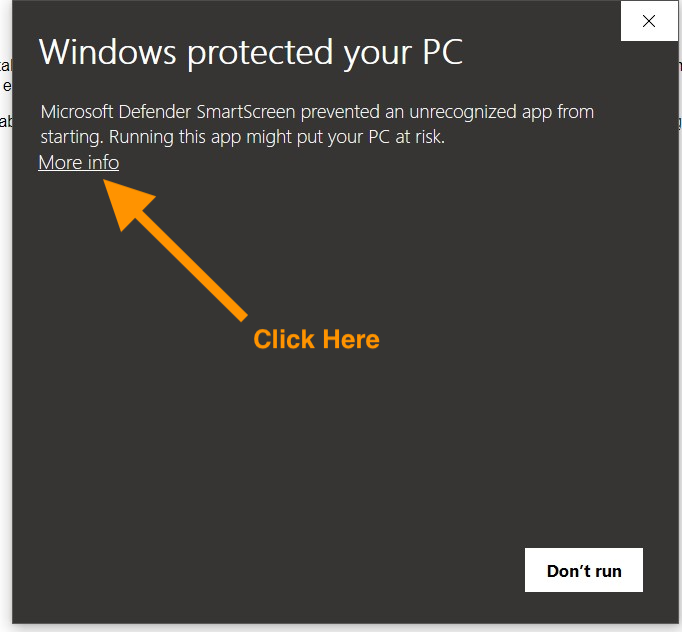

Then the program will unpackage and begin the installation. You need to confirm where it will install, and
Start the Program
Find your applications folder and look for CalTopo Desktop. Double click to open.
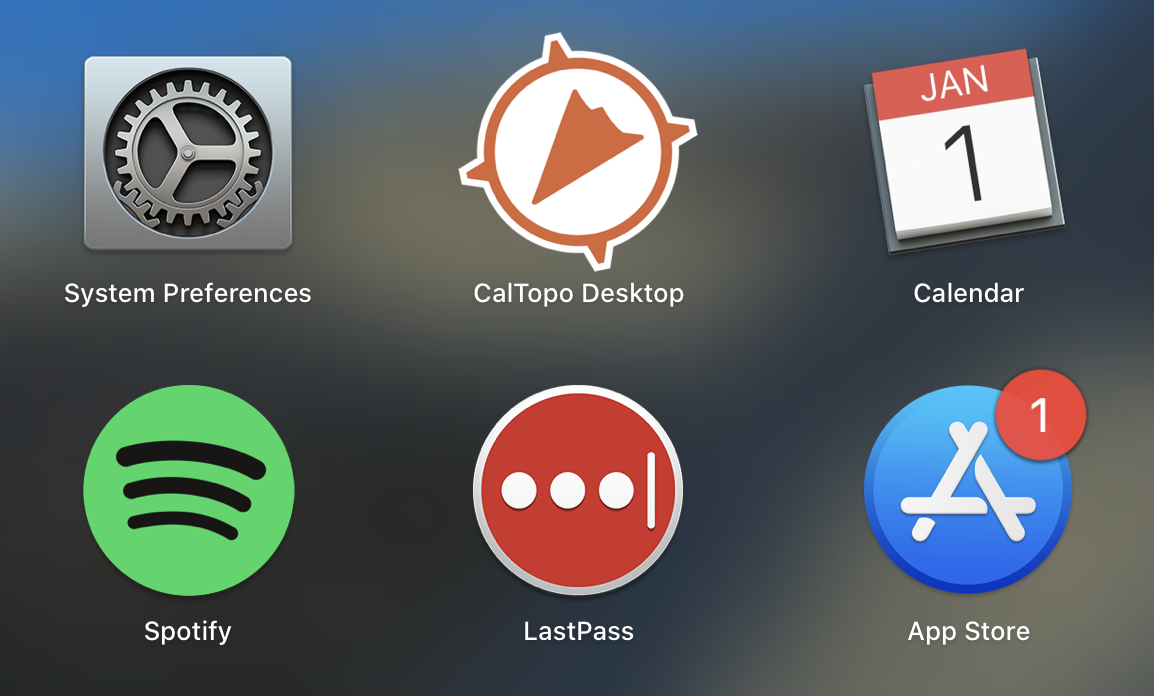
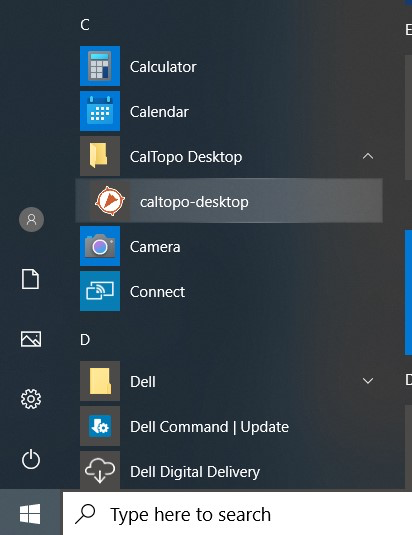
In Windows, you will find CalTopo in the Start Menu. On a Mac, you can find it in Launchpad.
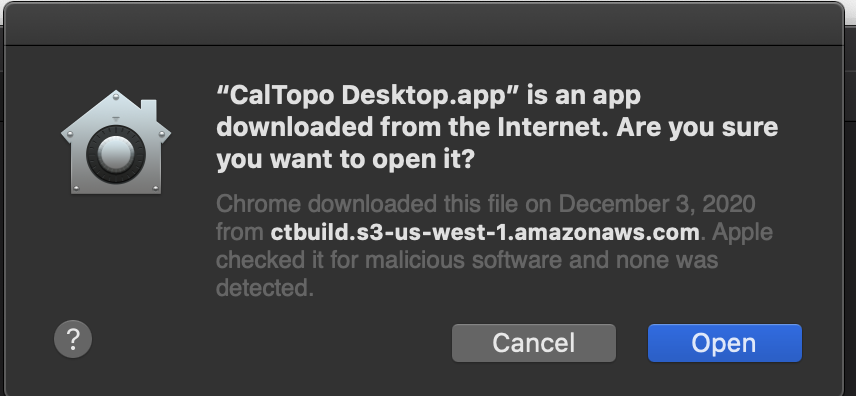
On a Mac, the first time you open it, the computer will ask if you trust it. You may also get a badge asking to allow notificaitons.

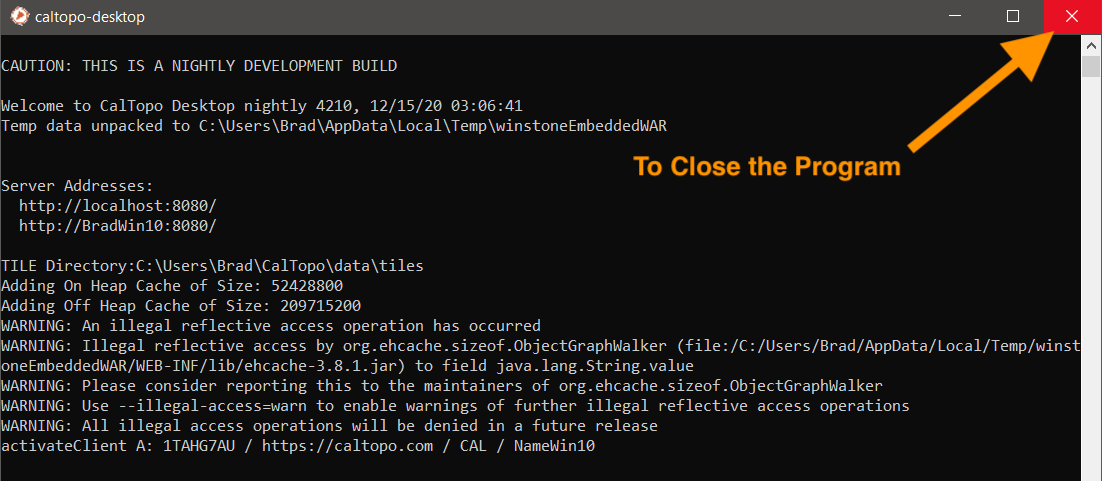
Now you get what equates to a Terminal window.
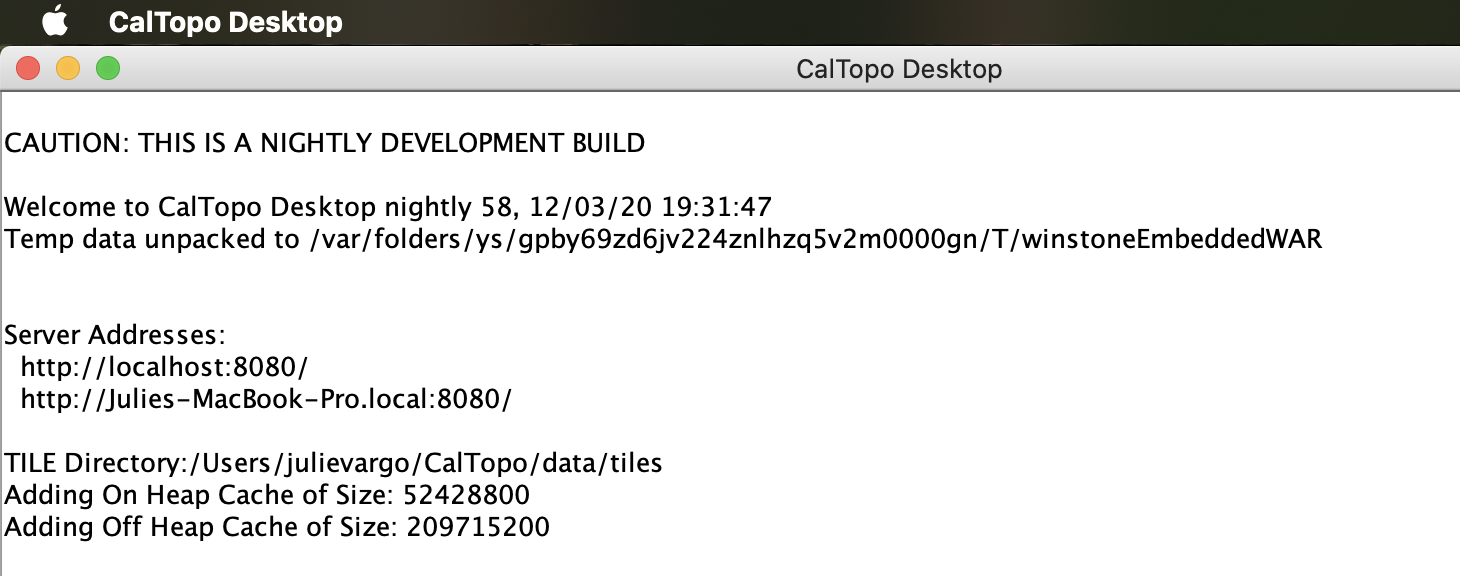
To use it, open your browser to a new tab, and type the server address - http://localhost:8080 - into the address bar. Press enter to start the program.

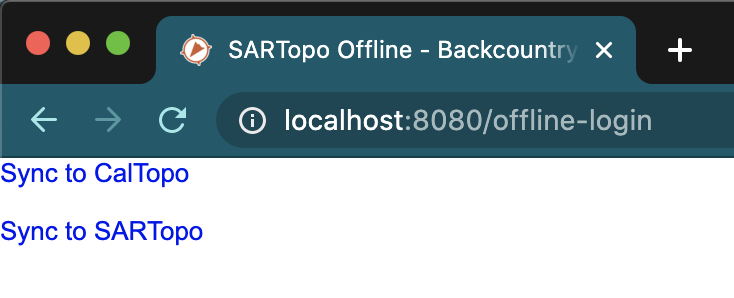
Complete the full login process. Use the same credentials you use to access your online subscription, or the validation will not work.
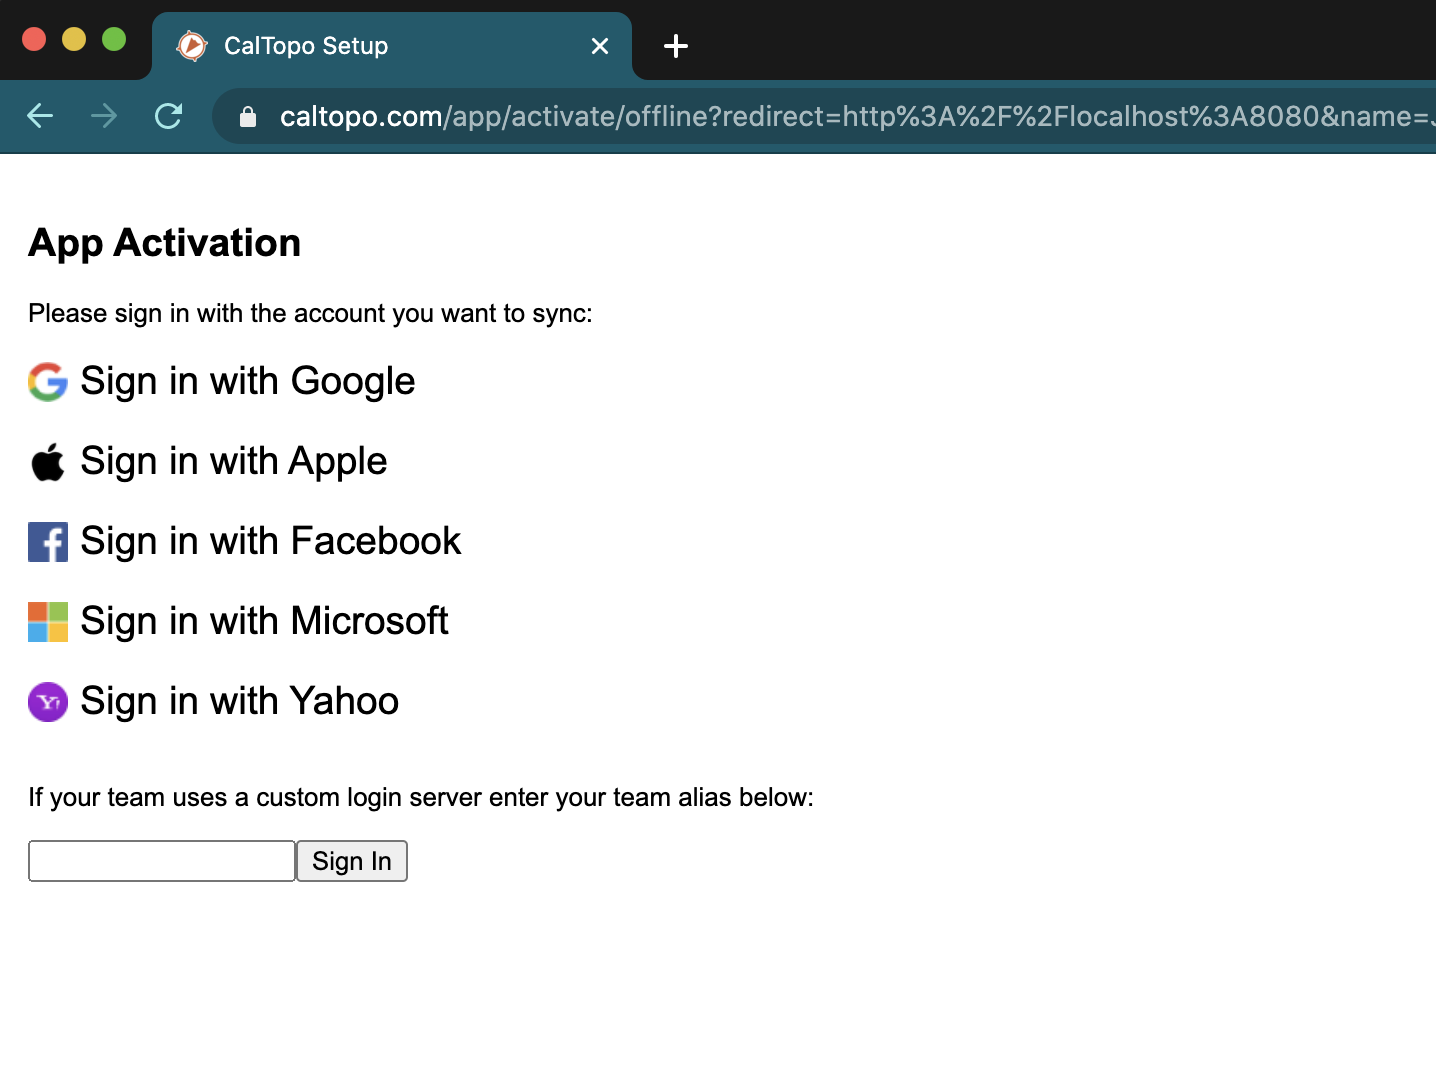
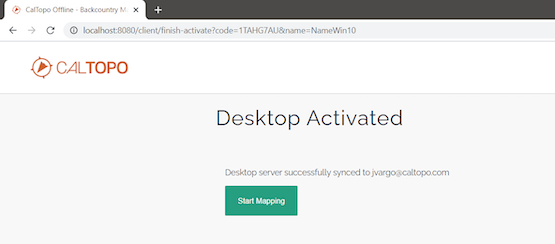
This is an important step. It does not matter what you name your machine, but you must check that the addess listed matches the address in your CalTopo program screen. This action is syncing your account in order to validate your subscription. It is not uploading any maps from your machine, though it will start the download sync to pull maps from your internet account to your local machine, if you have any.
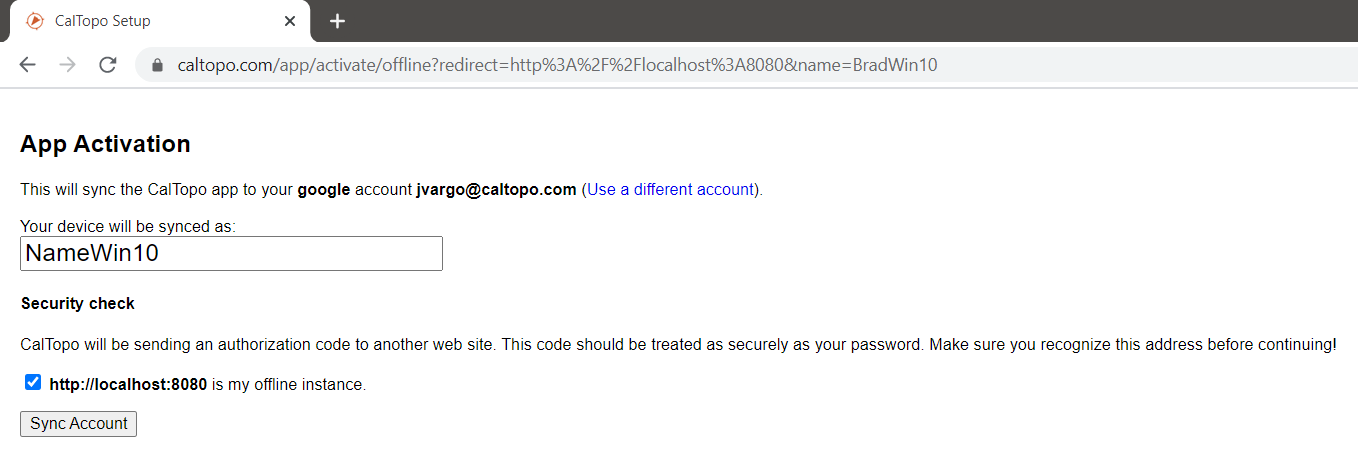
If the validation is successful, your server will be activated and you can click "Start Mapping."
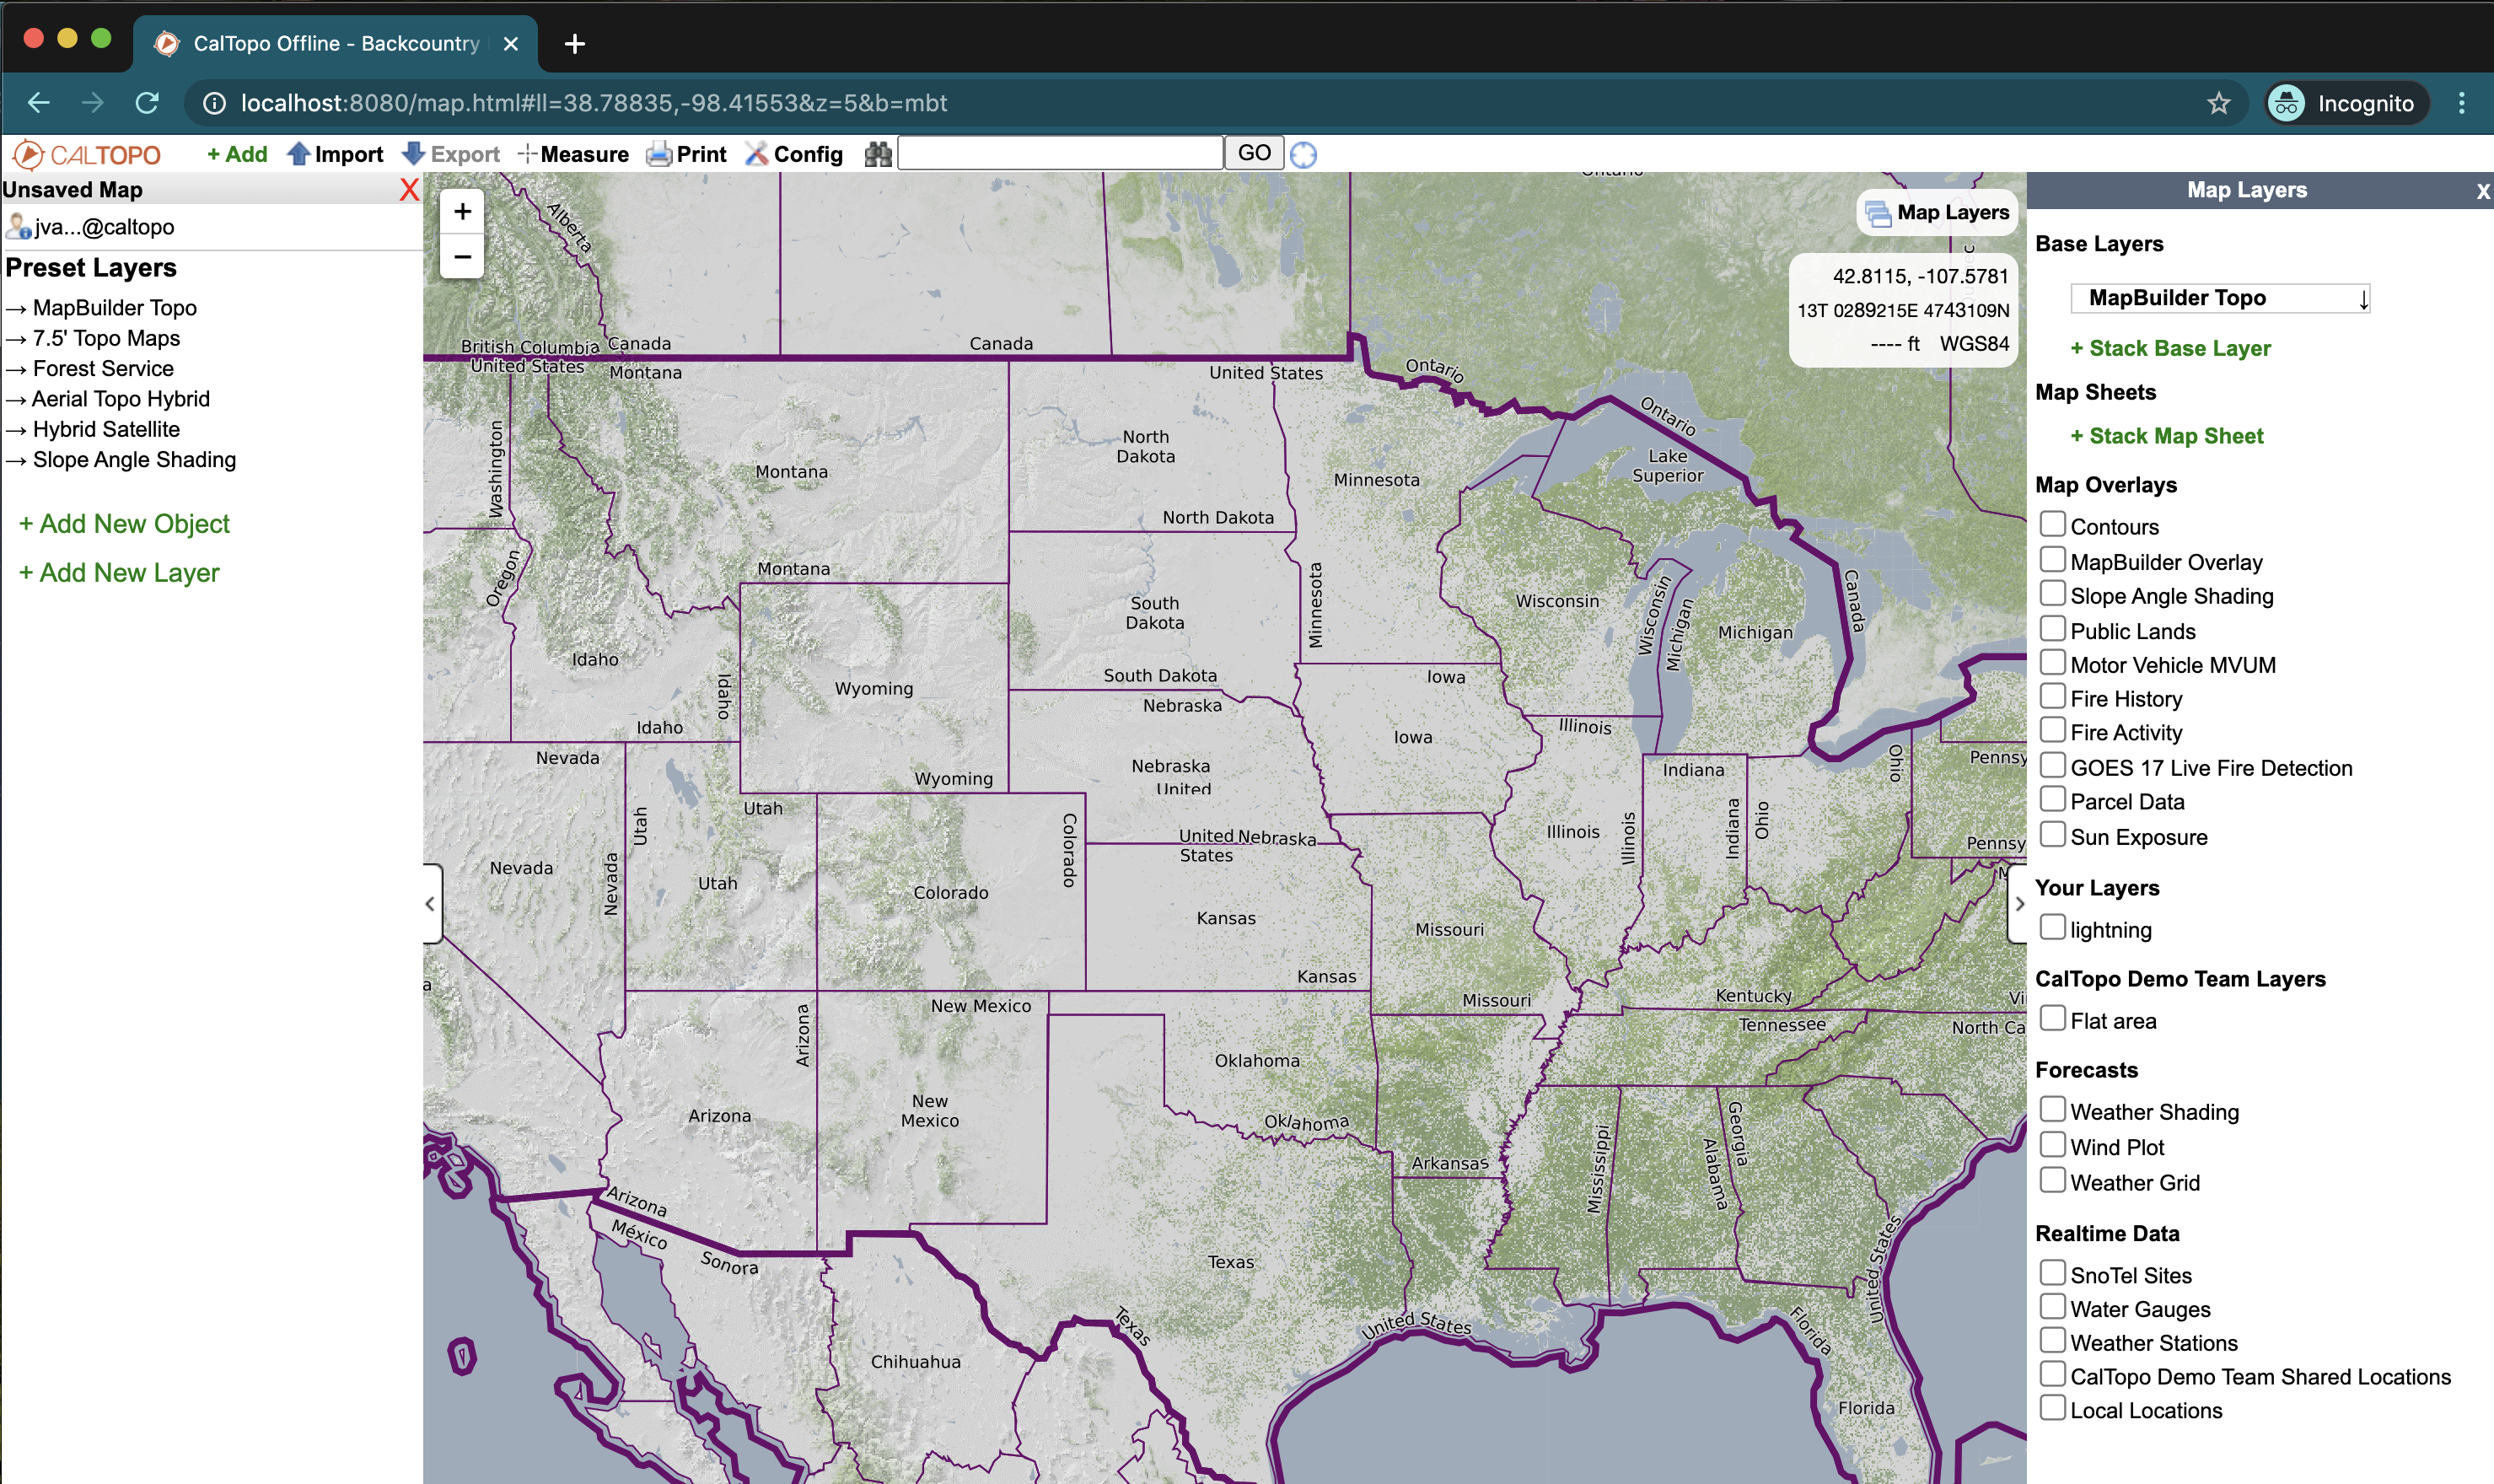
At this point the program will open in your browser. It should look very similar to the program you are used to using online.
To close the program, just close the app window.
Migrating from an Existing Installation
Users with an existing desktop installation will want to migrate to the new version to take advantage of all the updates. Savvy users can do this easily with a few steps.
Install the new program as described above. Then add two additional steps: move your existing base layer files over, and move and change the name of your .properties file.
Move Downloaded Tiles
In your old CalTopo installation you will find a folder named data. In it will be another folder named tiles. Move the entire data folder from its previous location to your home directory where you will find a folder called CalTopo.
Macbook: /users/myusername/CalTopo
Windows requires that the \ be escaped: c:\\Users\\myusername\\CalTopo or use / c:/Users/myusername/CalTopo
Replace the existing data folder at the new location.
Move and Change the .properties File.
The new installation comes with its own '.properties' file, called topo.properties. If you previously had custom properties defined that you would like to keep, change the file name to topo.properties (from cal.properties or sar.properties) and replace the file in the /users/myusername/CalTopo directory.