Managing Tracks and Field Data
in this lesson
At the end of the Op Period, you want to collect, clean, and organize the track data. The goal of this is to have a permanent record of how the search progressed and what areas were searched, and to help plan and prioritize for the next operational period.
Tracks are the most valuable information you can collect, but they also can make a map entirely unusable if they are not properly processed and organized. In this chapter we’ll look at:
- How to collect, import, and rename tracks.
- Using folders and bulk ops to organize track items.
- Cleaning tracks - editing them for relevance.
There are two ways of obtaining tracks: via an external device such as a GPS unit or by using the CalTopo mobile app. As long as there is cell service or wifi and searchers have saved their track to the appropriate mission map, the tracks will sync to the map.
Jump to Section:
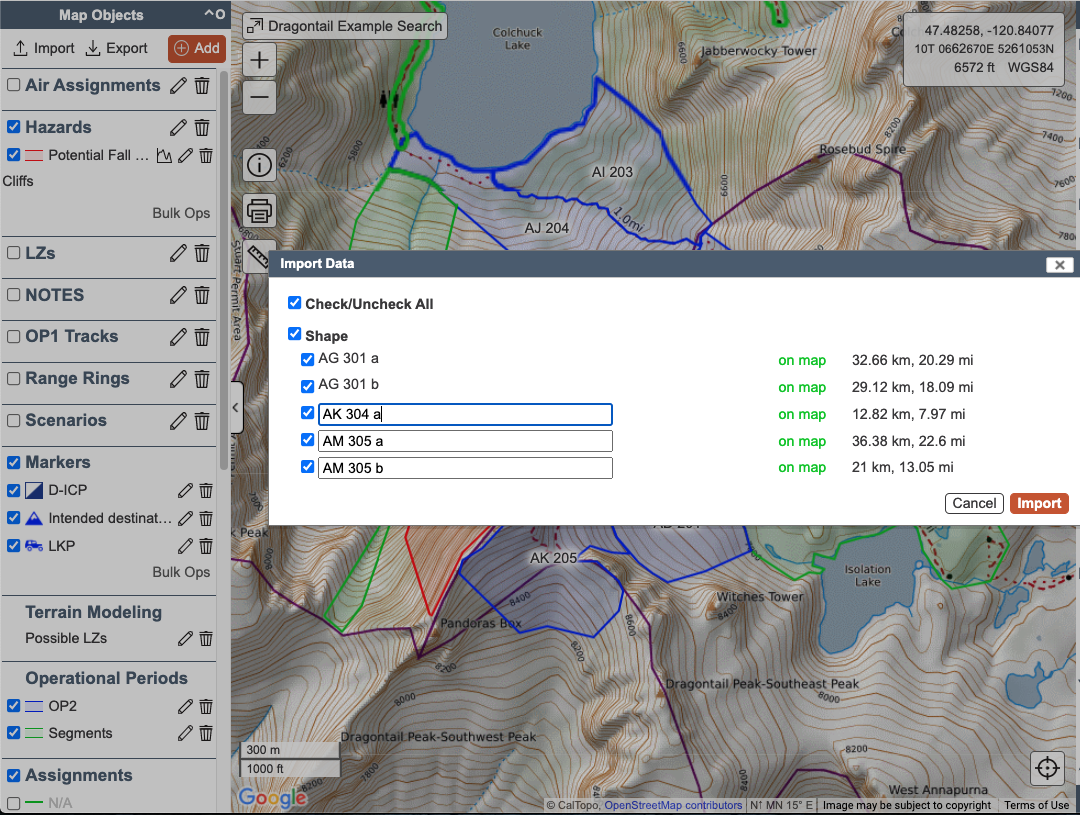
Import and Rename if Necessary
Two major factors influence how easy it is to manage search tracks: having users name their track well, and keeping tracks separated by op period via folders.
Set a clear protocol for track names in your morning briefing, and put it in your IAP so searchers can read it as well as hear it. Have teams label their tracks with their team number for the day, followed by a letter for each team member. For example, an OP2 team of four searchers could be 201a, 201b, 201c, and 201d. This makes it easy to see that the track was from OP2 and team 01.
Tracks from GPS Devices
If you import tracks after downloading them from GPS devices, you can rename them as you import them. These also default to the lines and polygons folder on import, and you can use bulk ops to move them.

Tracks from CalTopo Mobile
Tracks recorded to the map via the CalTopo mobile app will automatically display on the map in a folder called “app tracks.” This folder is only for active tracks. When someone finishes their track, it moves over to the Lines and Polygons folder. If necessary, it is possible to rename a track in the app tracks folder while it is being recorded.
Exercise #16
Click here to download this GPX file to your computer. Import it into your mission map. Rename one of the tracks from the import screen with Your first initial and last name and the current date. Uncheck any tracks that are clearly outside the search area. Complete the import and check that the tracks are displayed on your search map.
These tracks are not going to match the assignments you drew. That is OK. They are just tracks to practice with and NOT an indication of how you should have built your assignments.
Grading Criteria:
- Track file has been imported.
- One track was renamed on import with the first initial and last name of the student.
- Tracks outside of the search area were not imported.
Reference Links:
Managing Track Data
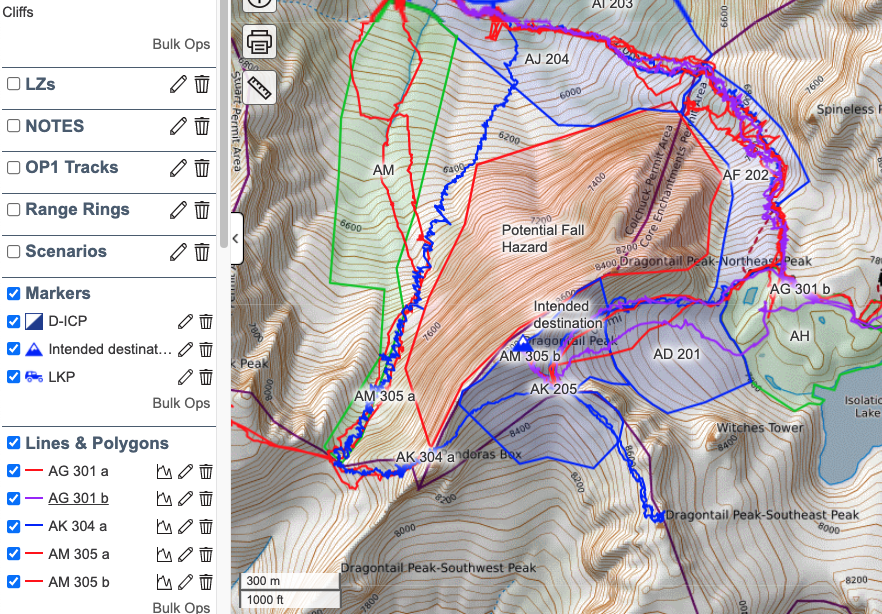
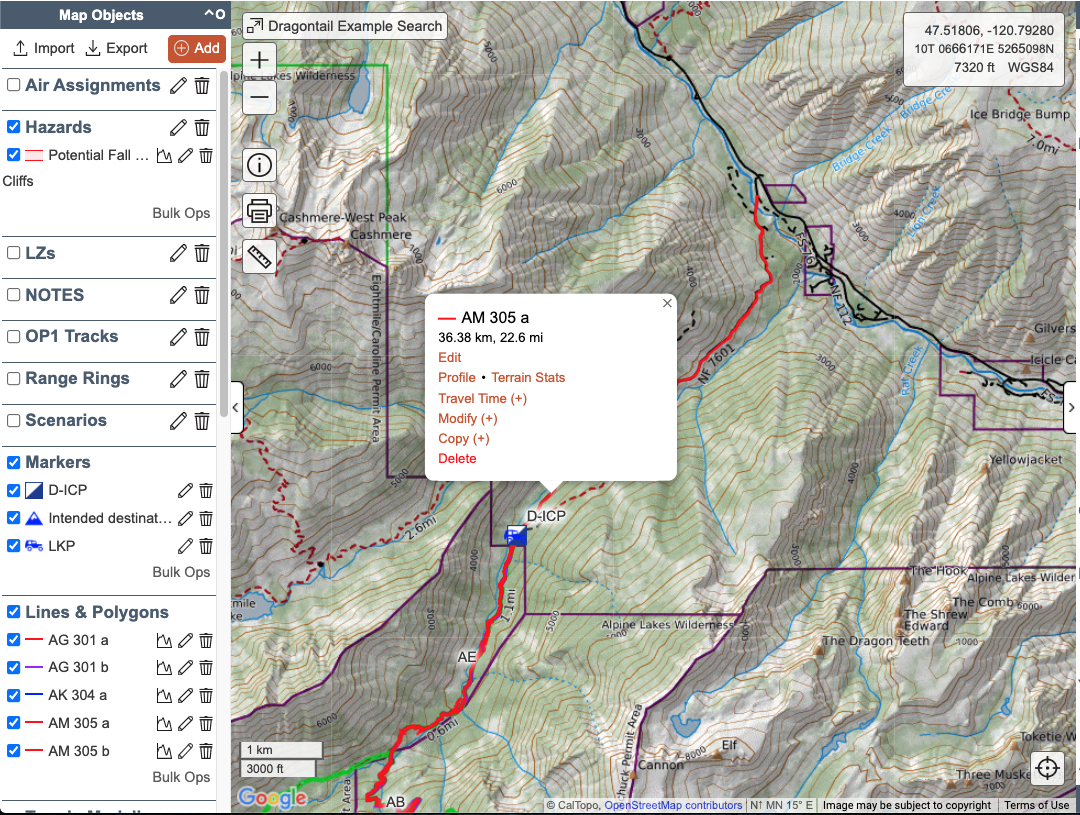
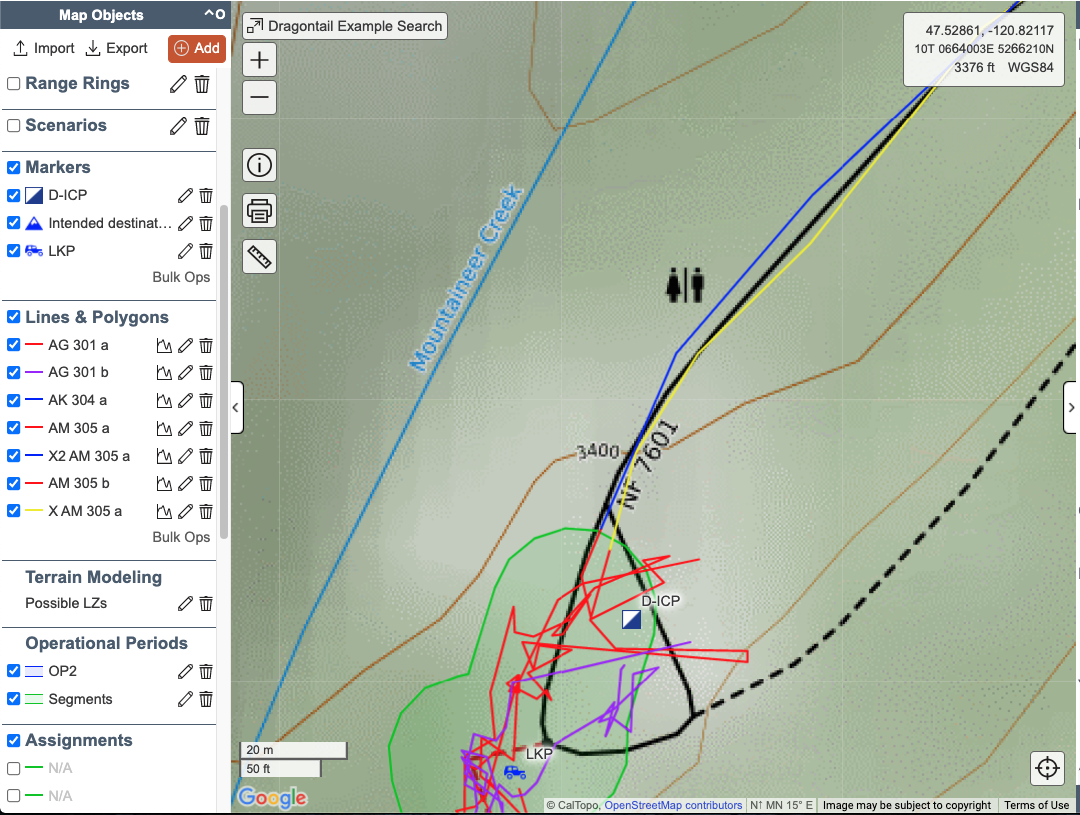
Organization starts with folders. Folders are a great way to manage the visibility of map objects and to keep operational data or assignment data together.
Use a new folder for each op period set of tracks. Move the tracks to that folder as soon as you finish importing them, and don't wait until the next day or later.
Use additional folders to hold air ops tracks, and set these folders to NOT load on page load. Air tracks will obliterate the map, obscuring anything else, though it is still important to store them.
Additional folders are used to separate tracks from other resource types. Dog team tracks and OHV tracks are two examples of items you may want to keep in separate folders.
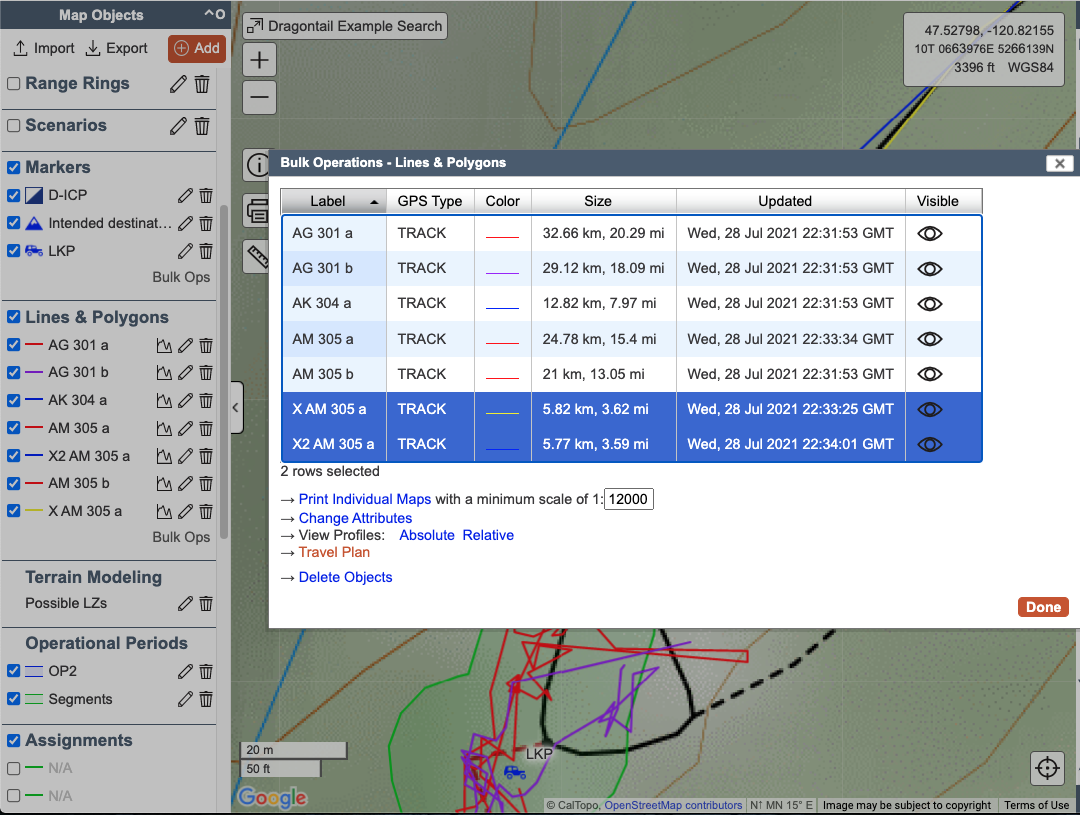
Create a folder for each op’s tracks, and use bulk ops to move the appropriate tracks to it. In the bulk ops box, sort the columns by clicking on the top of the column. Clearly labeled tracks make it easy to select the ones to move to a particular folder. Sorting by length will help group all the air ops tracks.
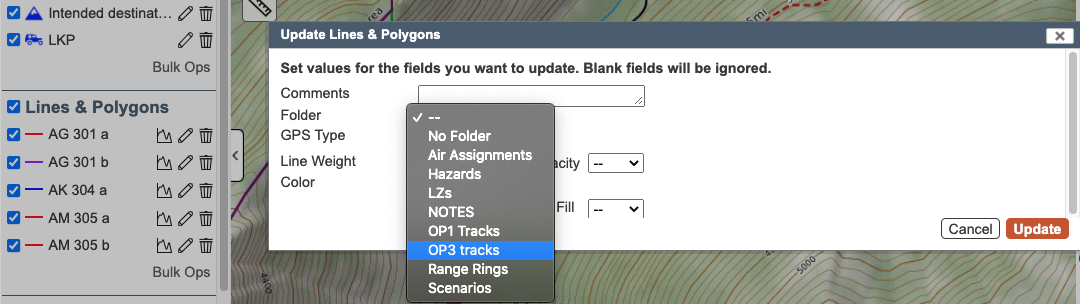
Use bulk ops to recolor all the tracks in one OP.

Cleaning Tracks
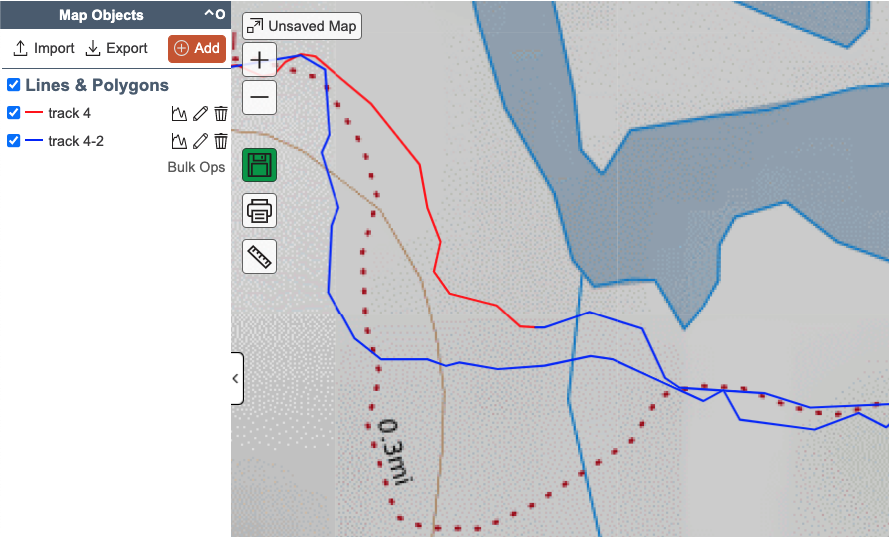
It’s almost inevitable that someone will start recording their track before getting on a helicopter, or drive home before remembering to finish the track. To keep the map free of clutter, you need to clean up these tracks. Cleaning tracks is simple in concept but can take a little practice.
Use the split tool from the transform menu of an object to cleave the track into two lines, then delete the line you don’t need. Exactly how much of the track you want to keep and how much you want to get rid of will depend on the incident and what you find useful. Best practice is to clean up tracks that are not associated with actual searching, such as time spent in vehicle transport.
Cleaning tracks is a task that can be visually challenging. When you split a track, you have the option to update both the track name and color automatically. Whether you do one or both may depend on how your tracks are named, but you should at least update the color.
Here are some steps for cleaning tracks in images:
Here is an imported track in the lines and polygons folder. In this example the user wants to eliminate some portion of the track and combine the two remaining portions.


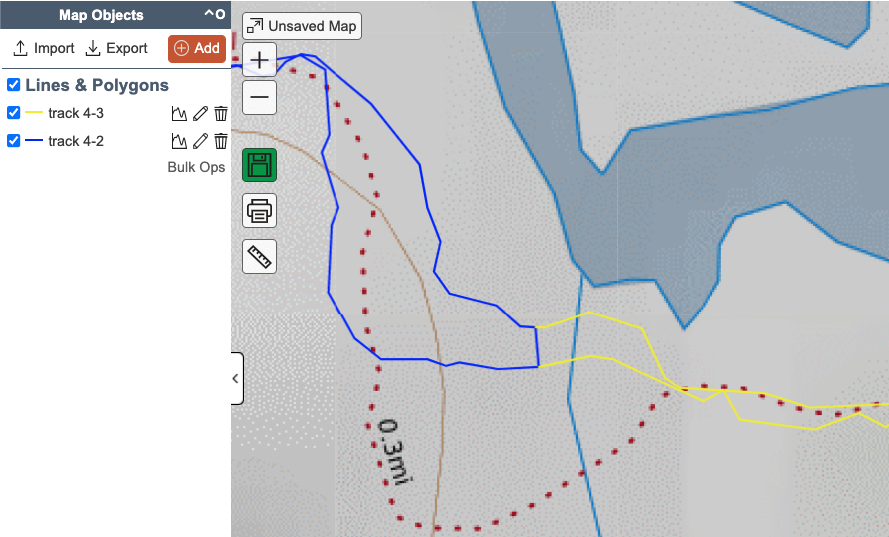


Why Clean Tracks?
Here is an example:
While a single extra line along a short road like this might not be a big deal, when you have tracks from searchers that recorded their drive to the search area, or their flight into the backcountry, it becomes important to clean the tracks to keep a nice search map.
Exercise #17
1. Create a folder and call it OP2 Tracks. Use bulk ops to move the tracks that you imported in the last exercise to the OP2 Tracks folder.
2. Next, clean up the tracks using the guidance in this lesson. Split the tracks to isolate the extraneous portions, then delete the portions that are not relevant to the search.
3. If you didn't catch them on your initial import, delete any additional tracks that are very far outside of the search area (more than 30 miles).
Grading Criteria:
- Set of tracks moved to folder called OP2 Tracks.
- Tracks have been cleaned (inappropriate straight lines removed, extra portions of tracks that are far outside of search area removed.)
Reference Links:
Conclusion
You should now be able to import track data, organize that into relevant folders, and clean up tracks so that you only have the part relevant to your search. In the next chapter, we’ll look at strategies for handling search maps on a larger scale, without wreaking havoc on your collaborators!